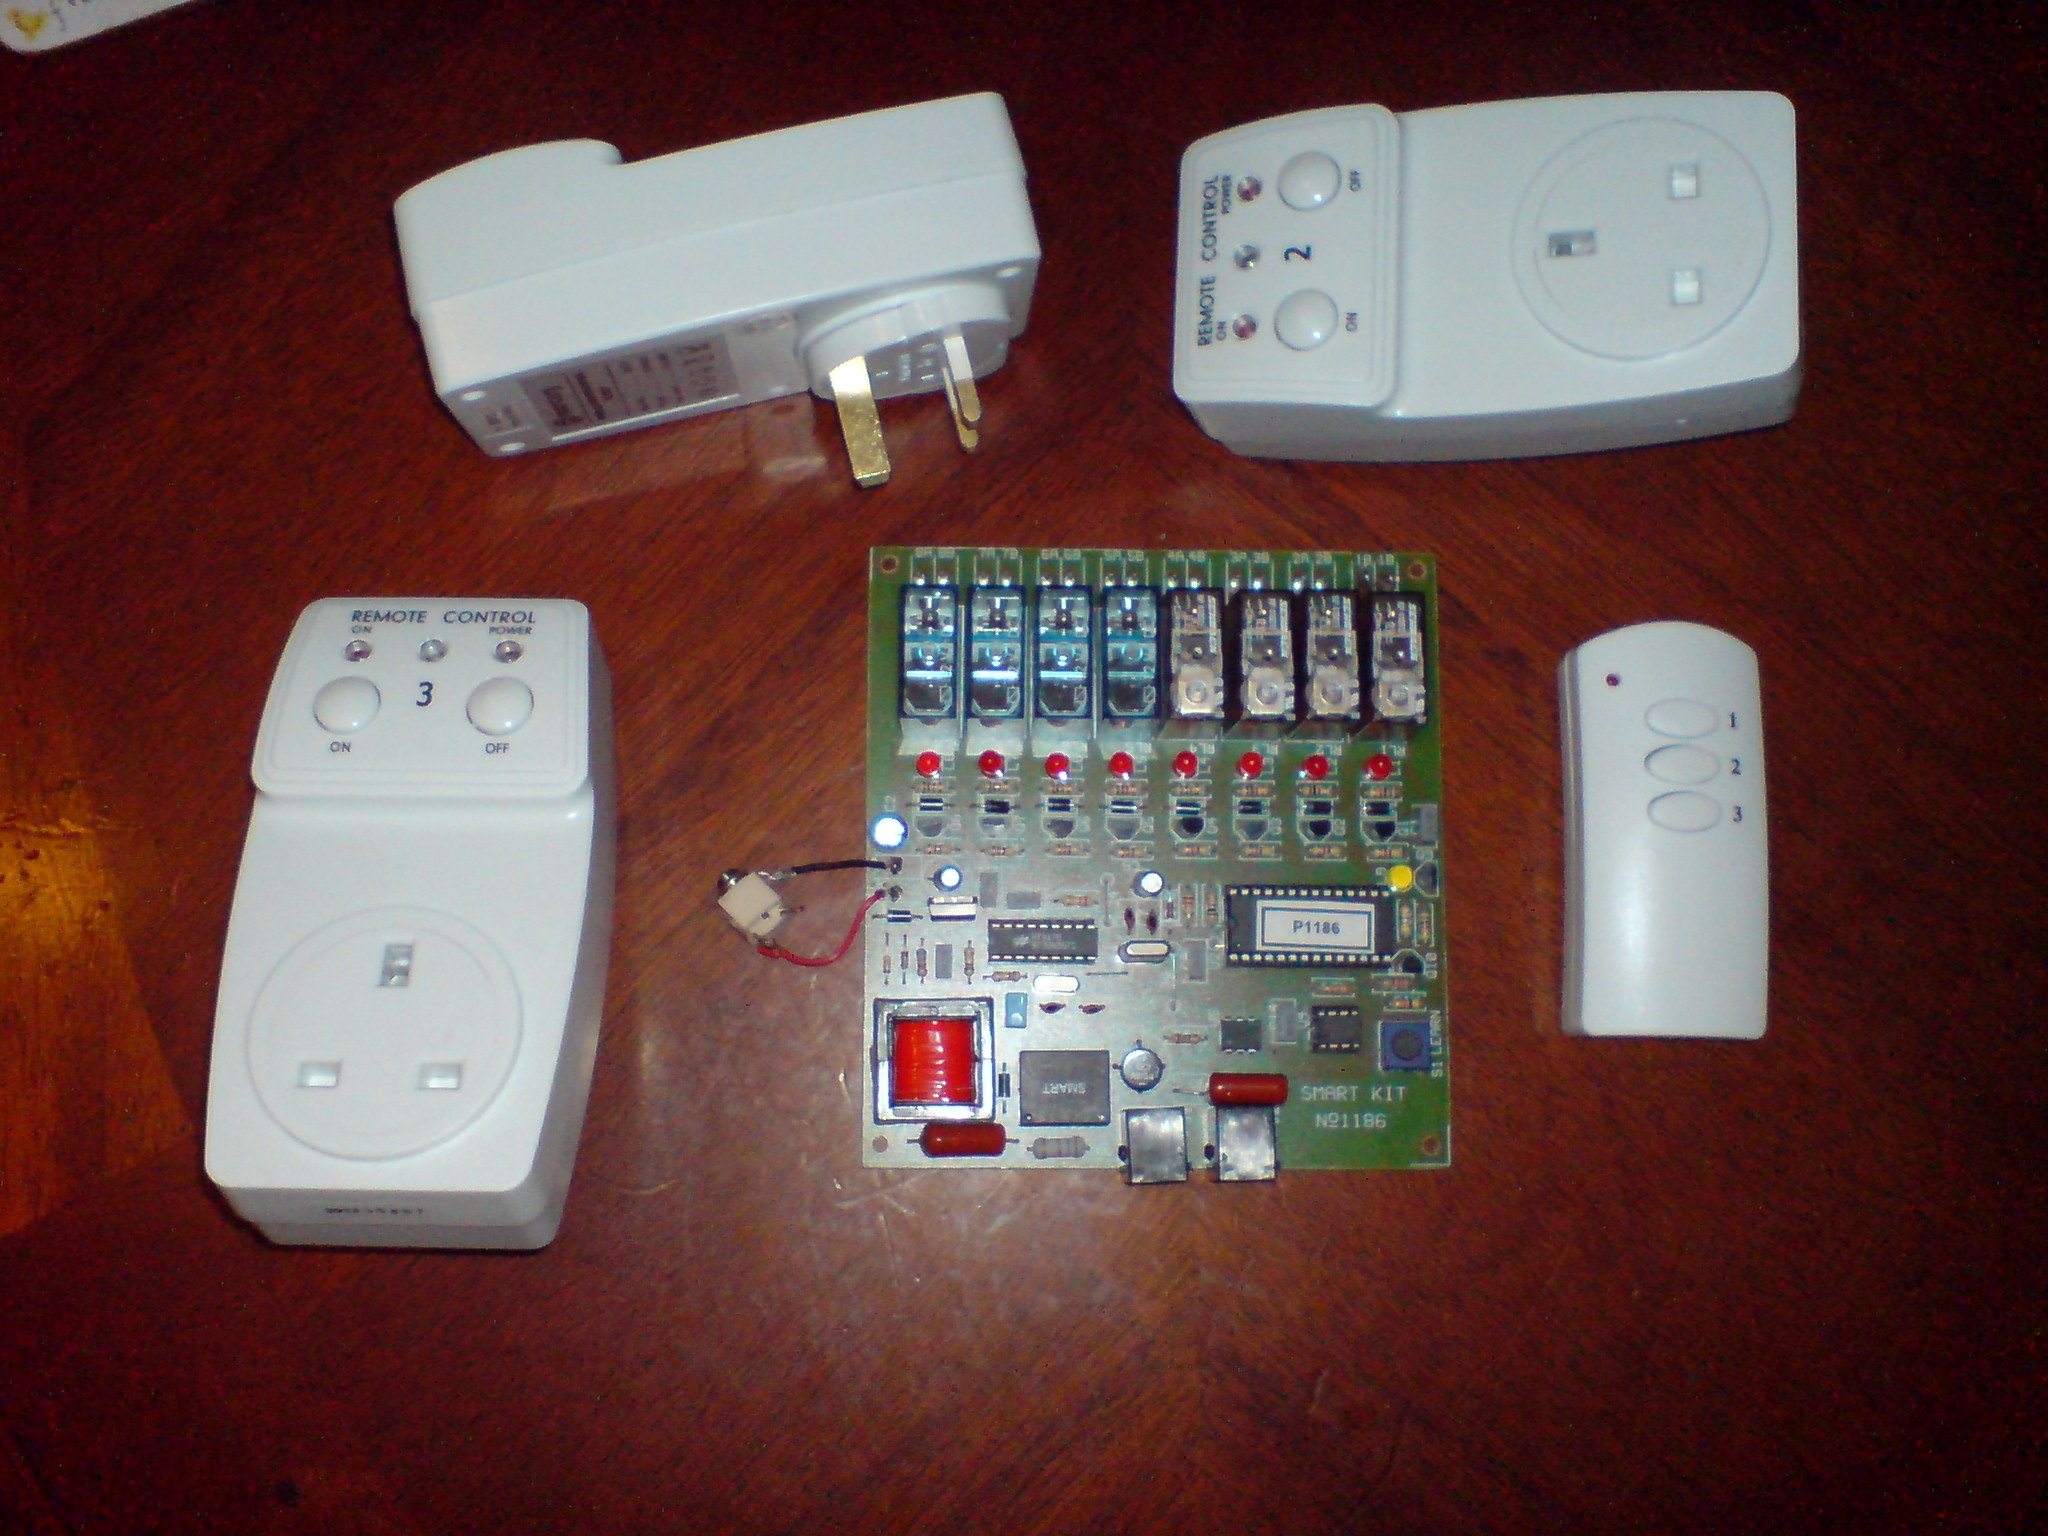
Welcome to the second part of the DTMF PSTN Devise here we will add the mini transmitter to the relays and tap some of the power from the main unit.
12.) Now we will add the wires to the relays in the photo below I have connected the first button to the first relay and so on see photo below.
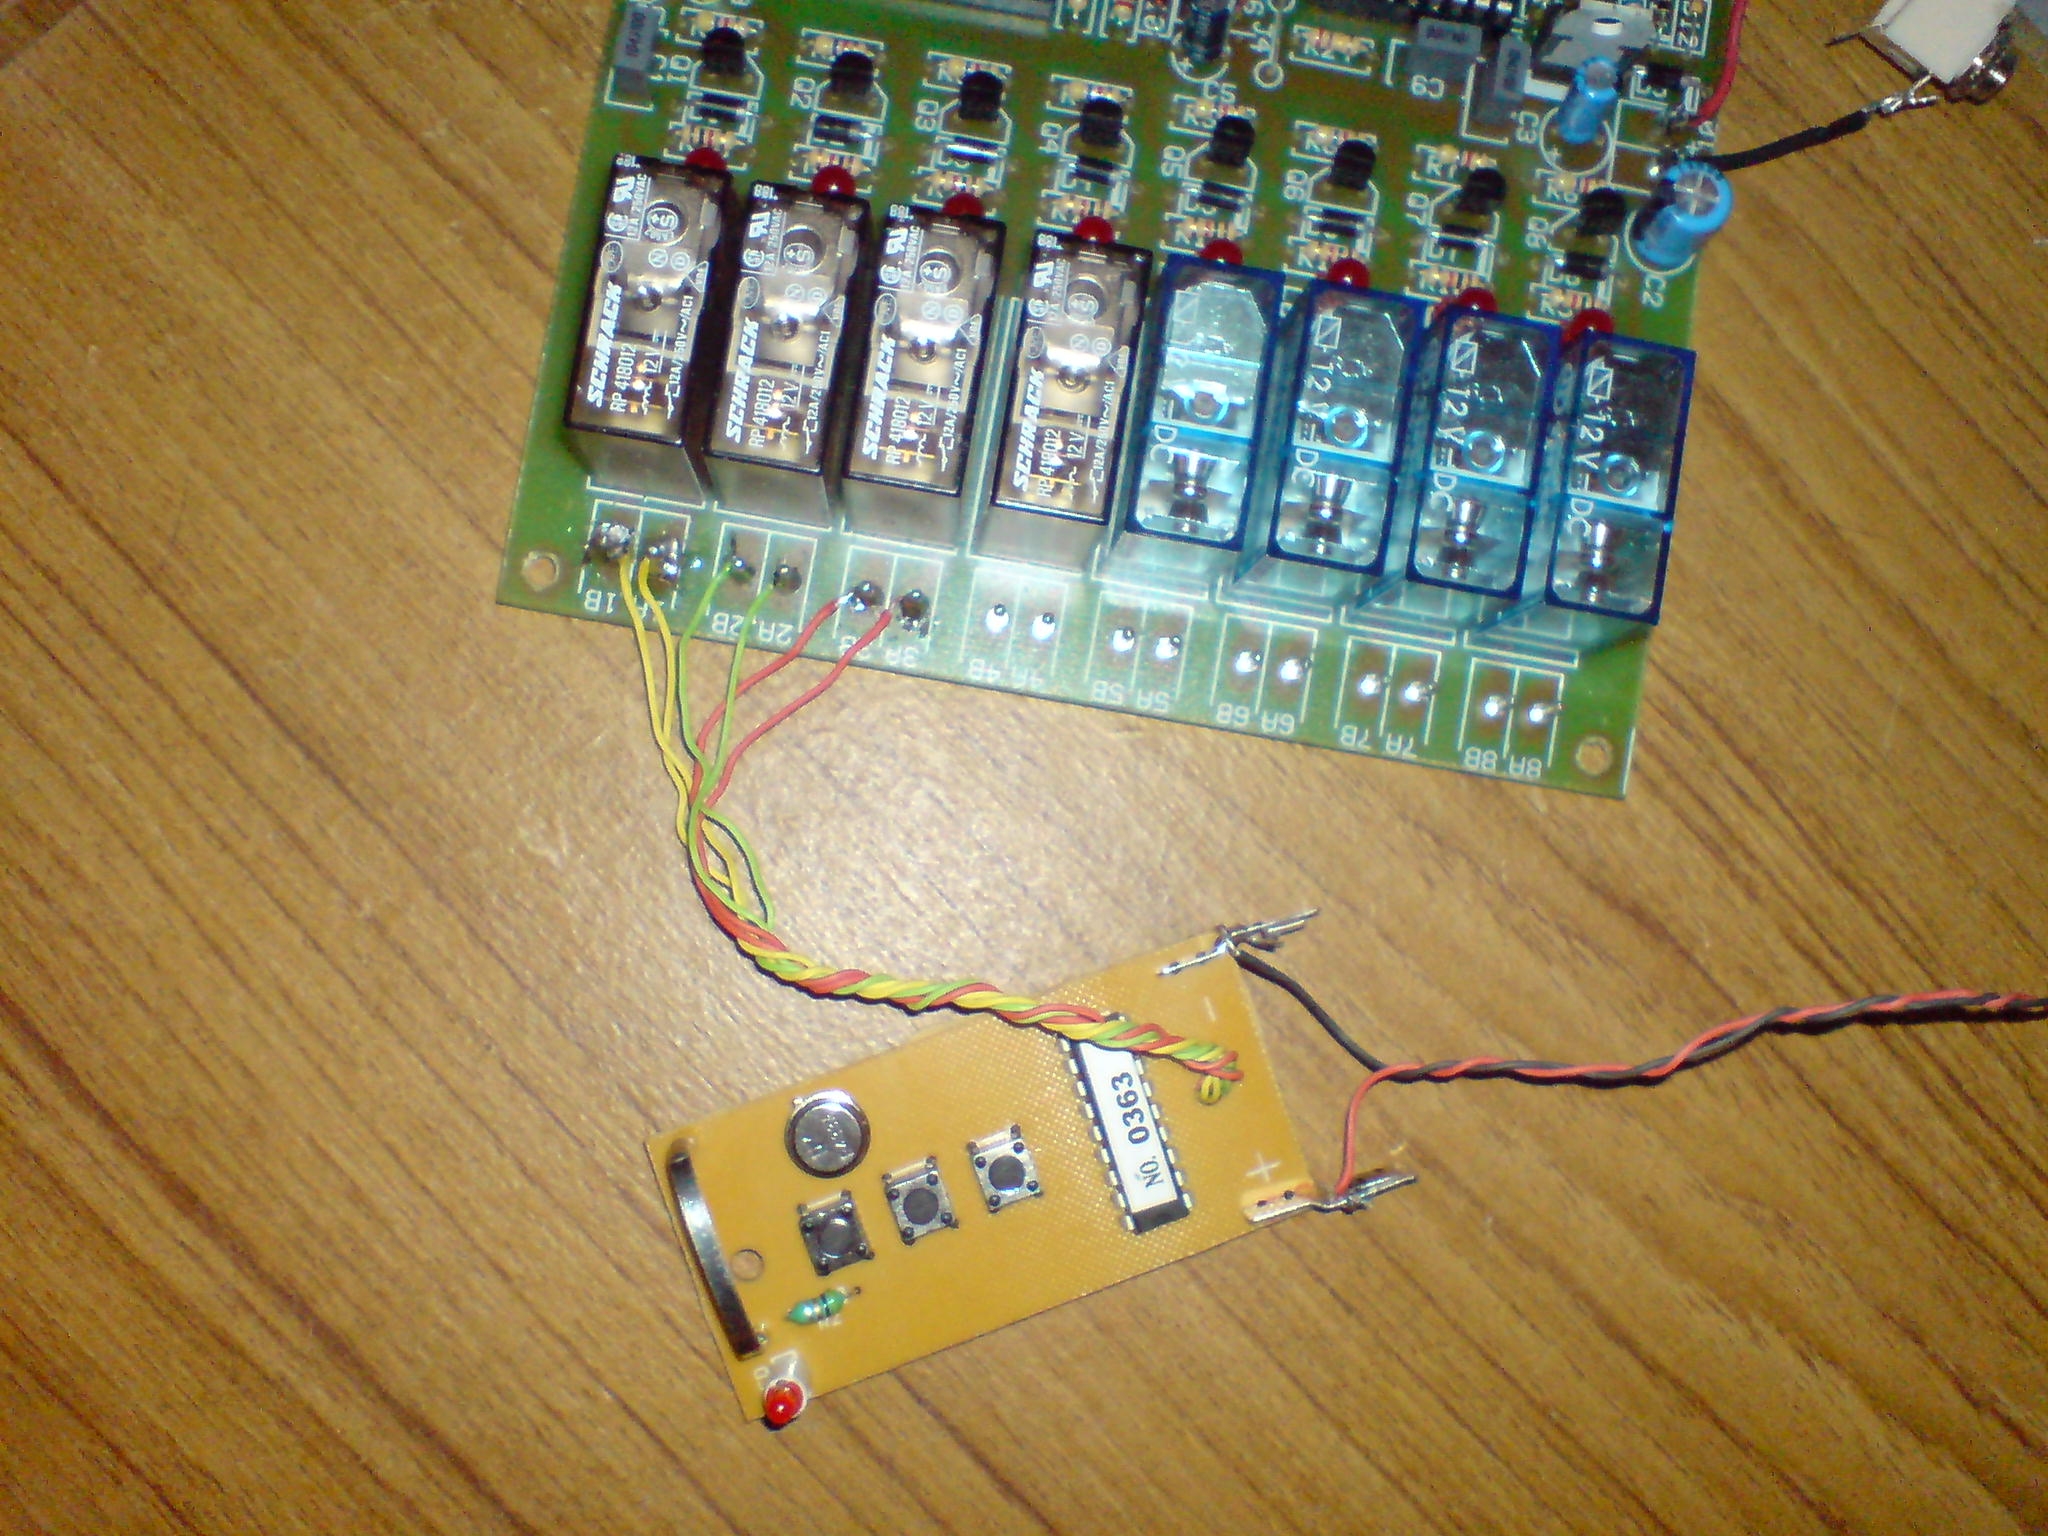
13.) Now we need to connect our red and black wire from our mini transmitter to the power input of the DTMF PSTN devise see photo below how to do this.
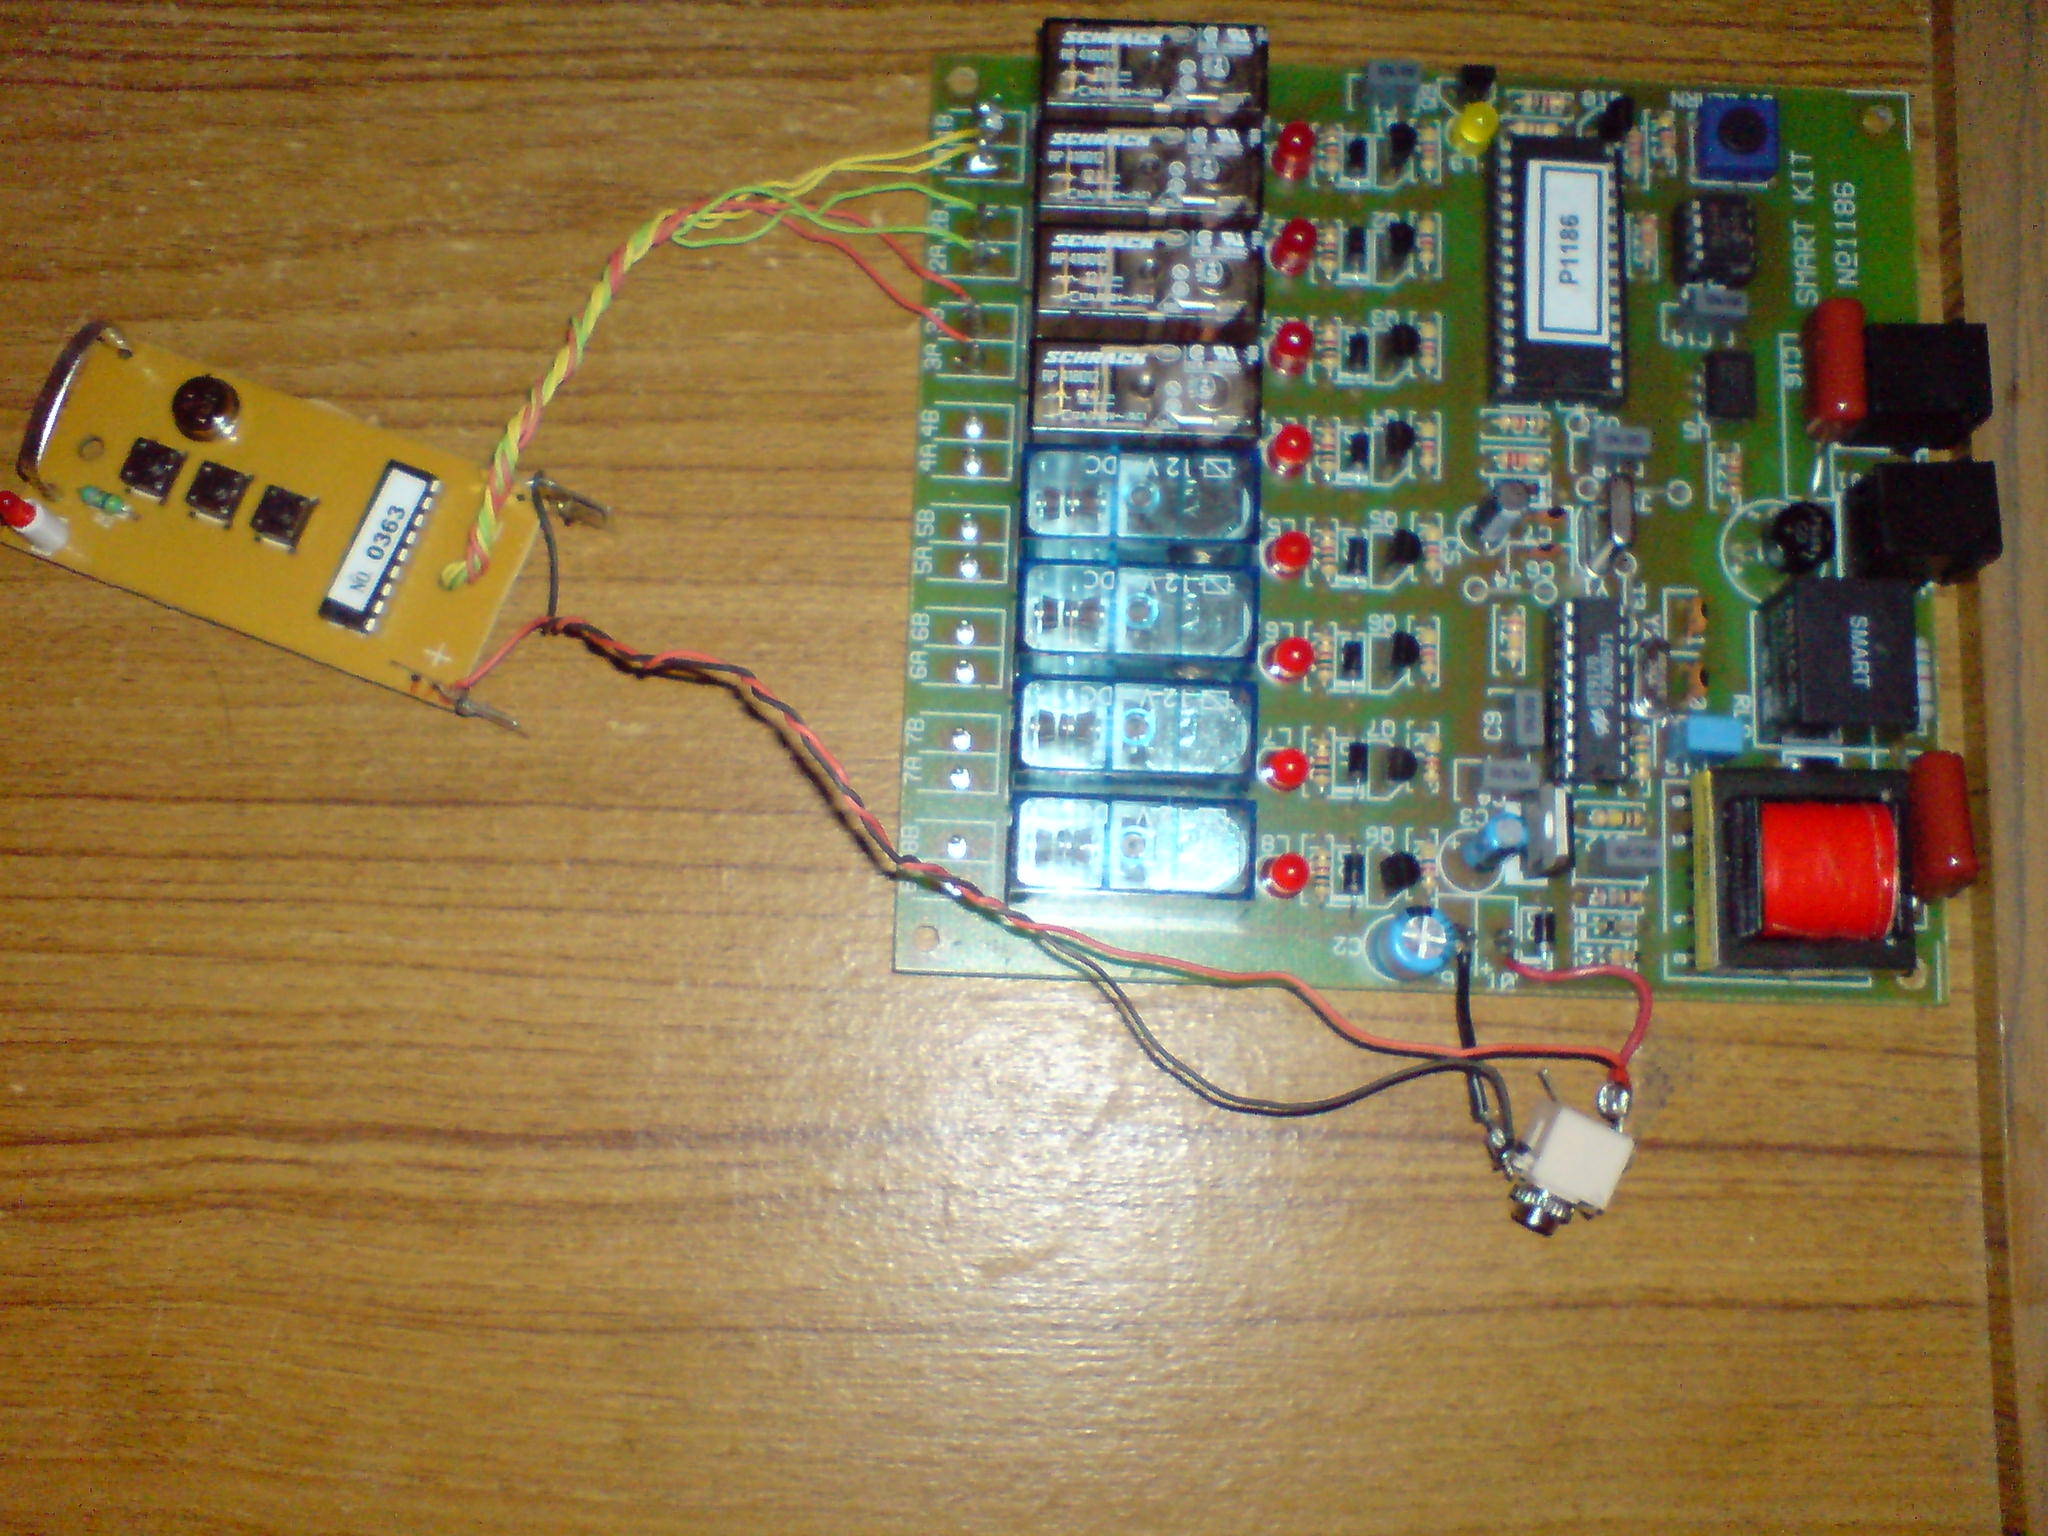
14). Now as you can see in the photo above I have now connected my mini transmitter to the input of the main unit the mini transmitter will be off it will only turn things on or off when you phone the unit and enter your 4 digit code and operate the relays.
Now it is very important to follow the information I give here for this switch as the on/off is the same button for each switch follow the information below.
Now say I want to turn my electrical devise on first telephone the number the devise is fixed to then enter your 4 digit security code say I want to turn on channel one the first relay.
All I have to do is press *1 this will turn channel one on and the transmitter will send the radio signal give it 5 seconds then press #1 then the relay will turn off the transmitter but not the electrical devise.
Now to turn the electrical devise off press *1 then this will send a second signal and turn the electrical devise off then press #1 .
Now if you look at the Sequence below you can see how to operate the unit right I have tested my own modified unit and every thing works fine.
Please not if you want to send a second command the mini transmitter must not be transmitting any signals so follow the information below.
Channel One relay - Turn on electrical devise *1 turn power to transmitter off #1 turn electrical devise off *1 turn power to transmitter off #1.
Channel Two Relay - Turn on electrical devise *2 turn power to transmitter off #2 turn electrical devise off *2 turn power to transmitter off #2.
Channel Three Relay - Turn on electrical devise *3 turn power to transmitter off #3 turn electrical devise off *3 turn power to transmitter off #3.
The above Sequence is simple to follow to turn on: *1#1 Devise will stay on to turn devise off *1#1
For the next relay it is on *2#2 and to turn off *2#2
For the next relay *3#3 and to turn off *3#3
Please note if you have turned your electrical devise on for more than 30 Seconds say like hours then to turn it off again you will need to phone the unit and re-enter your 4 digit Security code then follow the information below.
Enter your code *1#1 as your electrical devise is switch on already you only need to enter the *1#1 to turn it off.
Enter your code *2#2 as your electrical devise is switch on already you only need to enter the *2#2 to turn it off.
Enter your code *3#3 as your electrical devise is switch on already you only need to enter the *3#3 to turn it off.
Now as I have only used a three channel remote control I can add more remote controls or keep the five remaining relays for hard wiring the system.
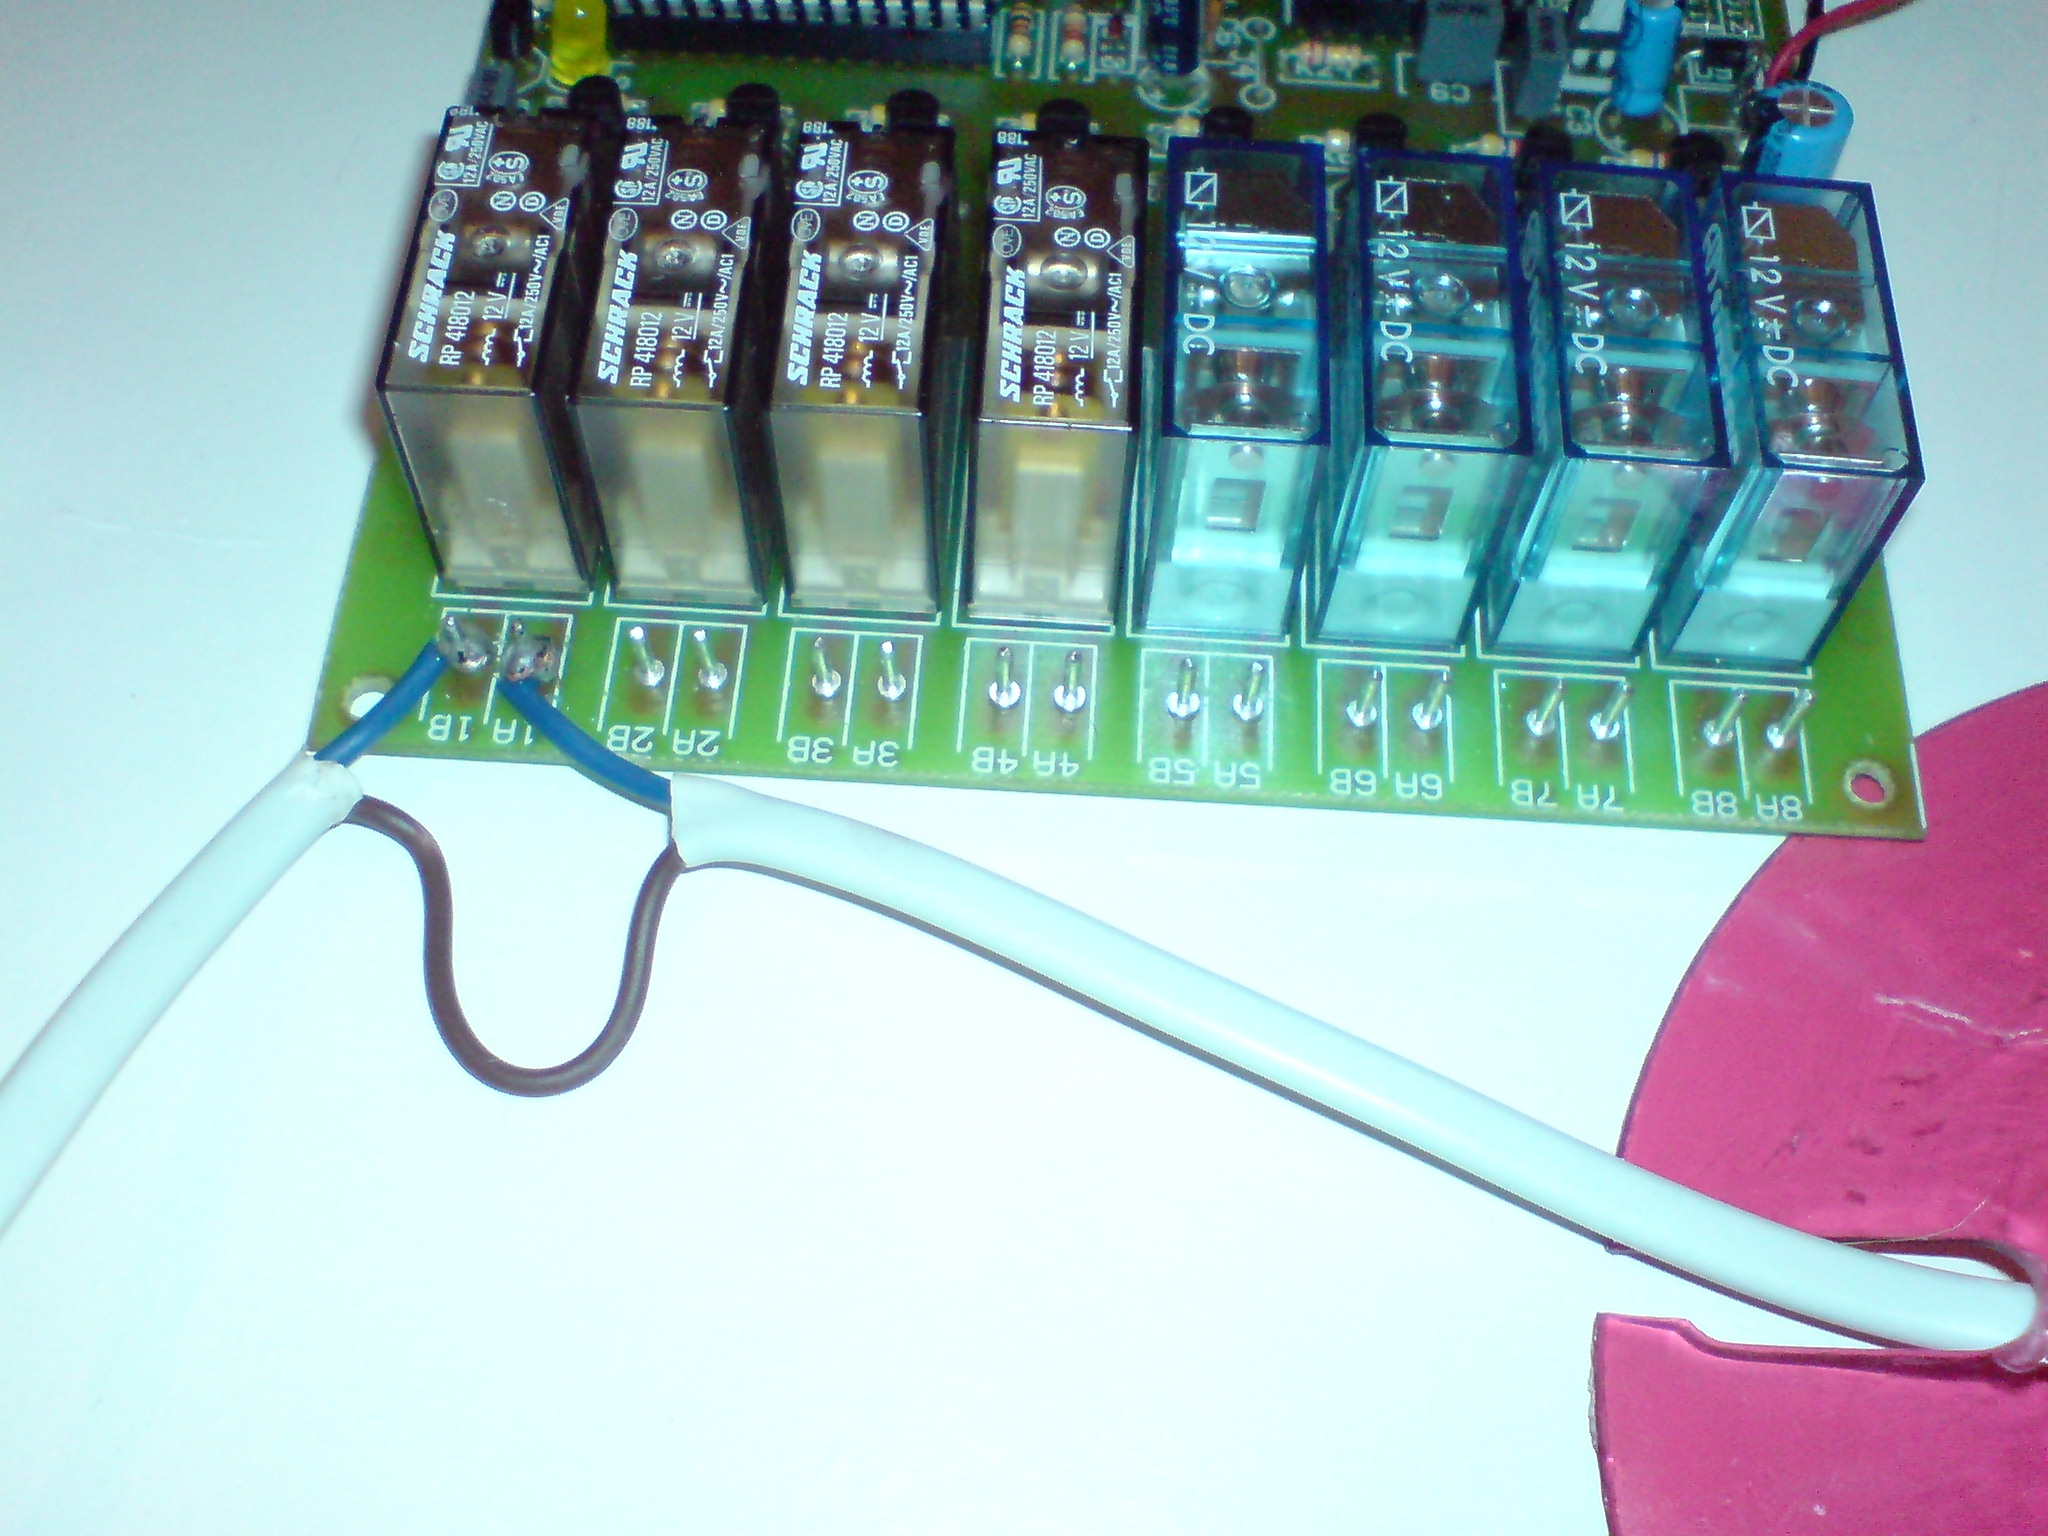
15). How to hard wire your system is noting more than connecting a cable to the 4A 4B connecter pins and the next electrical devise to 5A 5B in the photo below it shows pins 1A 1B.
I have to use 4A 4B as I have used the first three relays for the mini transmitter you can see how to wire up electrical devises to the relays in the photo below.
![]()
![]()
16). Now if you have hard wired up your system them follow the following commands below.
17). To turn your electrical devise on telephone the number the unit is connected to then wait for four bleeps then enter your four digit security code then to turn on your electrical devise press *4 for relay 4 and so on to turn your devise off you will need to phone the number again and enter your four digit security code and press 4# to turn it off and so on.
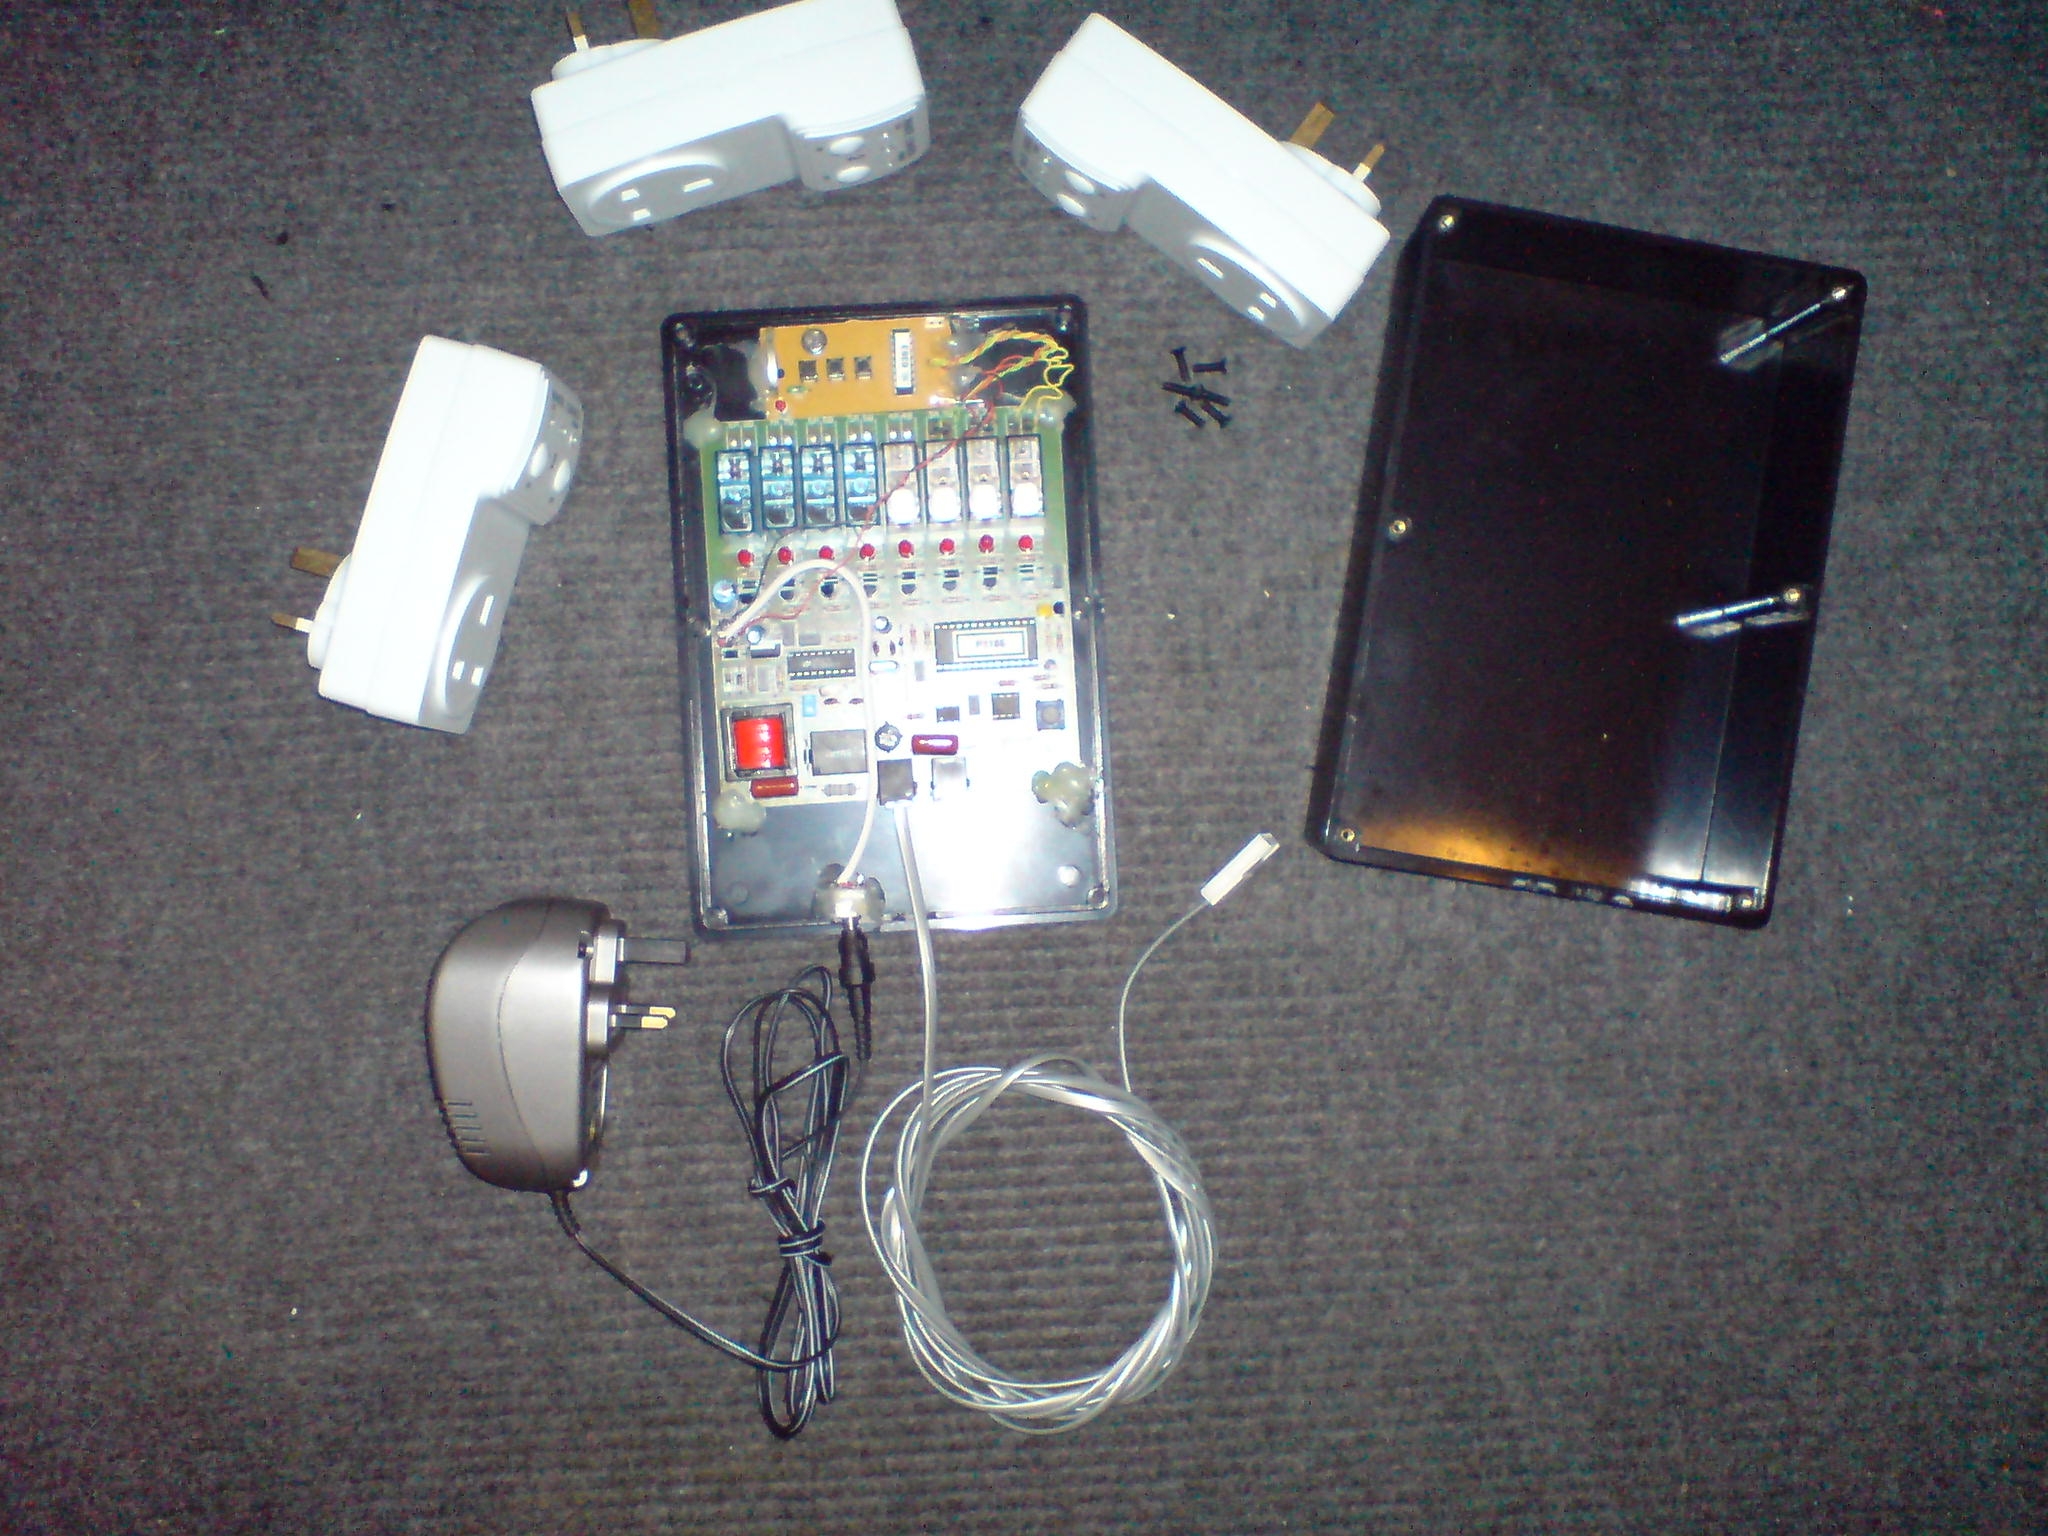
The photo below shows my finished unit with Plastic box and how every thing fits in right.
Please note any problems I am all ways happy to help send me an email to Anthony@anthony-dacko.net