Welcome to this modification to allow the DTMF PSTN Devise to send radio waves with out putting wires all around the place and how to modify the remote control.
Now if you would like to see the unit working then visit my You Tube Page Click here.
Why I modified the Simple Mains remote switch is down to a number of things one you don't need to put long wires around your home or office also you do not need to connect the mains 240 volt supply UK or 120 Volt USA Voltage to the DTMF unit.
The benefits are it is much safer to keep the DTMF at 12 volts also you don't need to do any modifications to any wires of your appliance just plug them in the receiver sockets and then in to the main power outlets.
I have modified the Main Smart kit 1186 above to work with a simple mains switch mains switches are simple to get hold of you can get them from most electrical stores or on Ebay UK Click here.
Now if you are outside the United Kingdom look on Ebay in your own Country or check out your local electrical store or shops any mains switch can be used it is how they are wired up that is a little different but I will show you how to wire them up right.
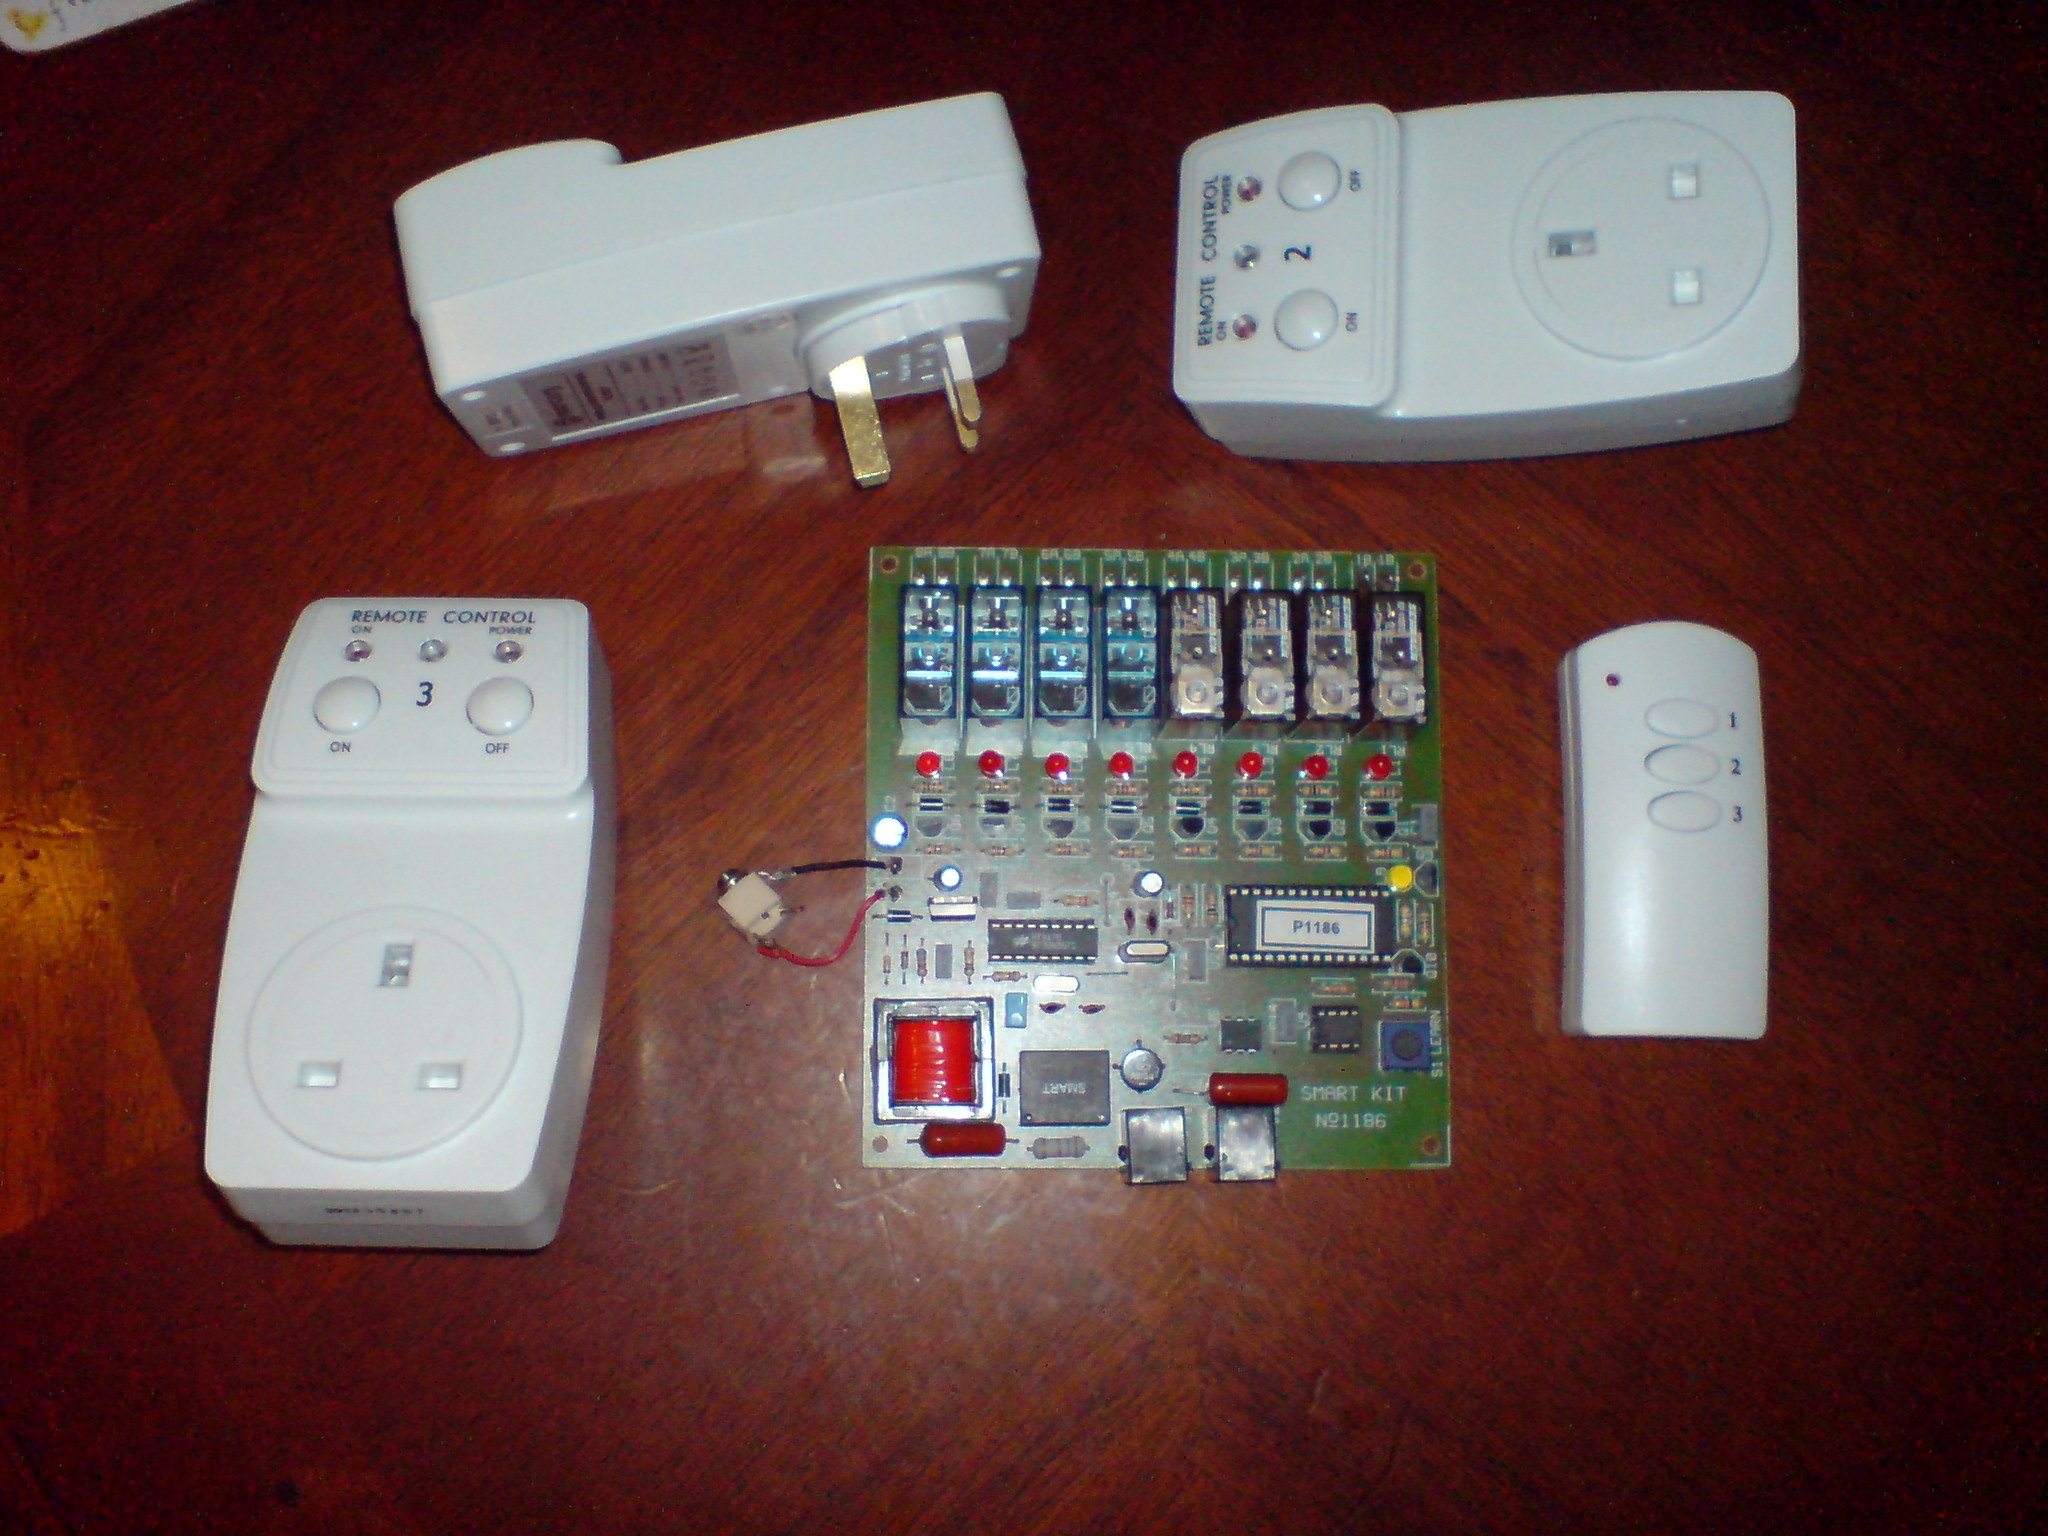
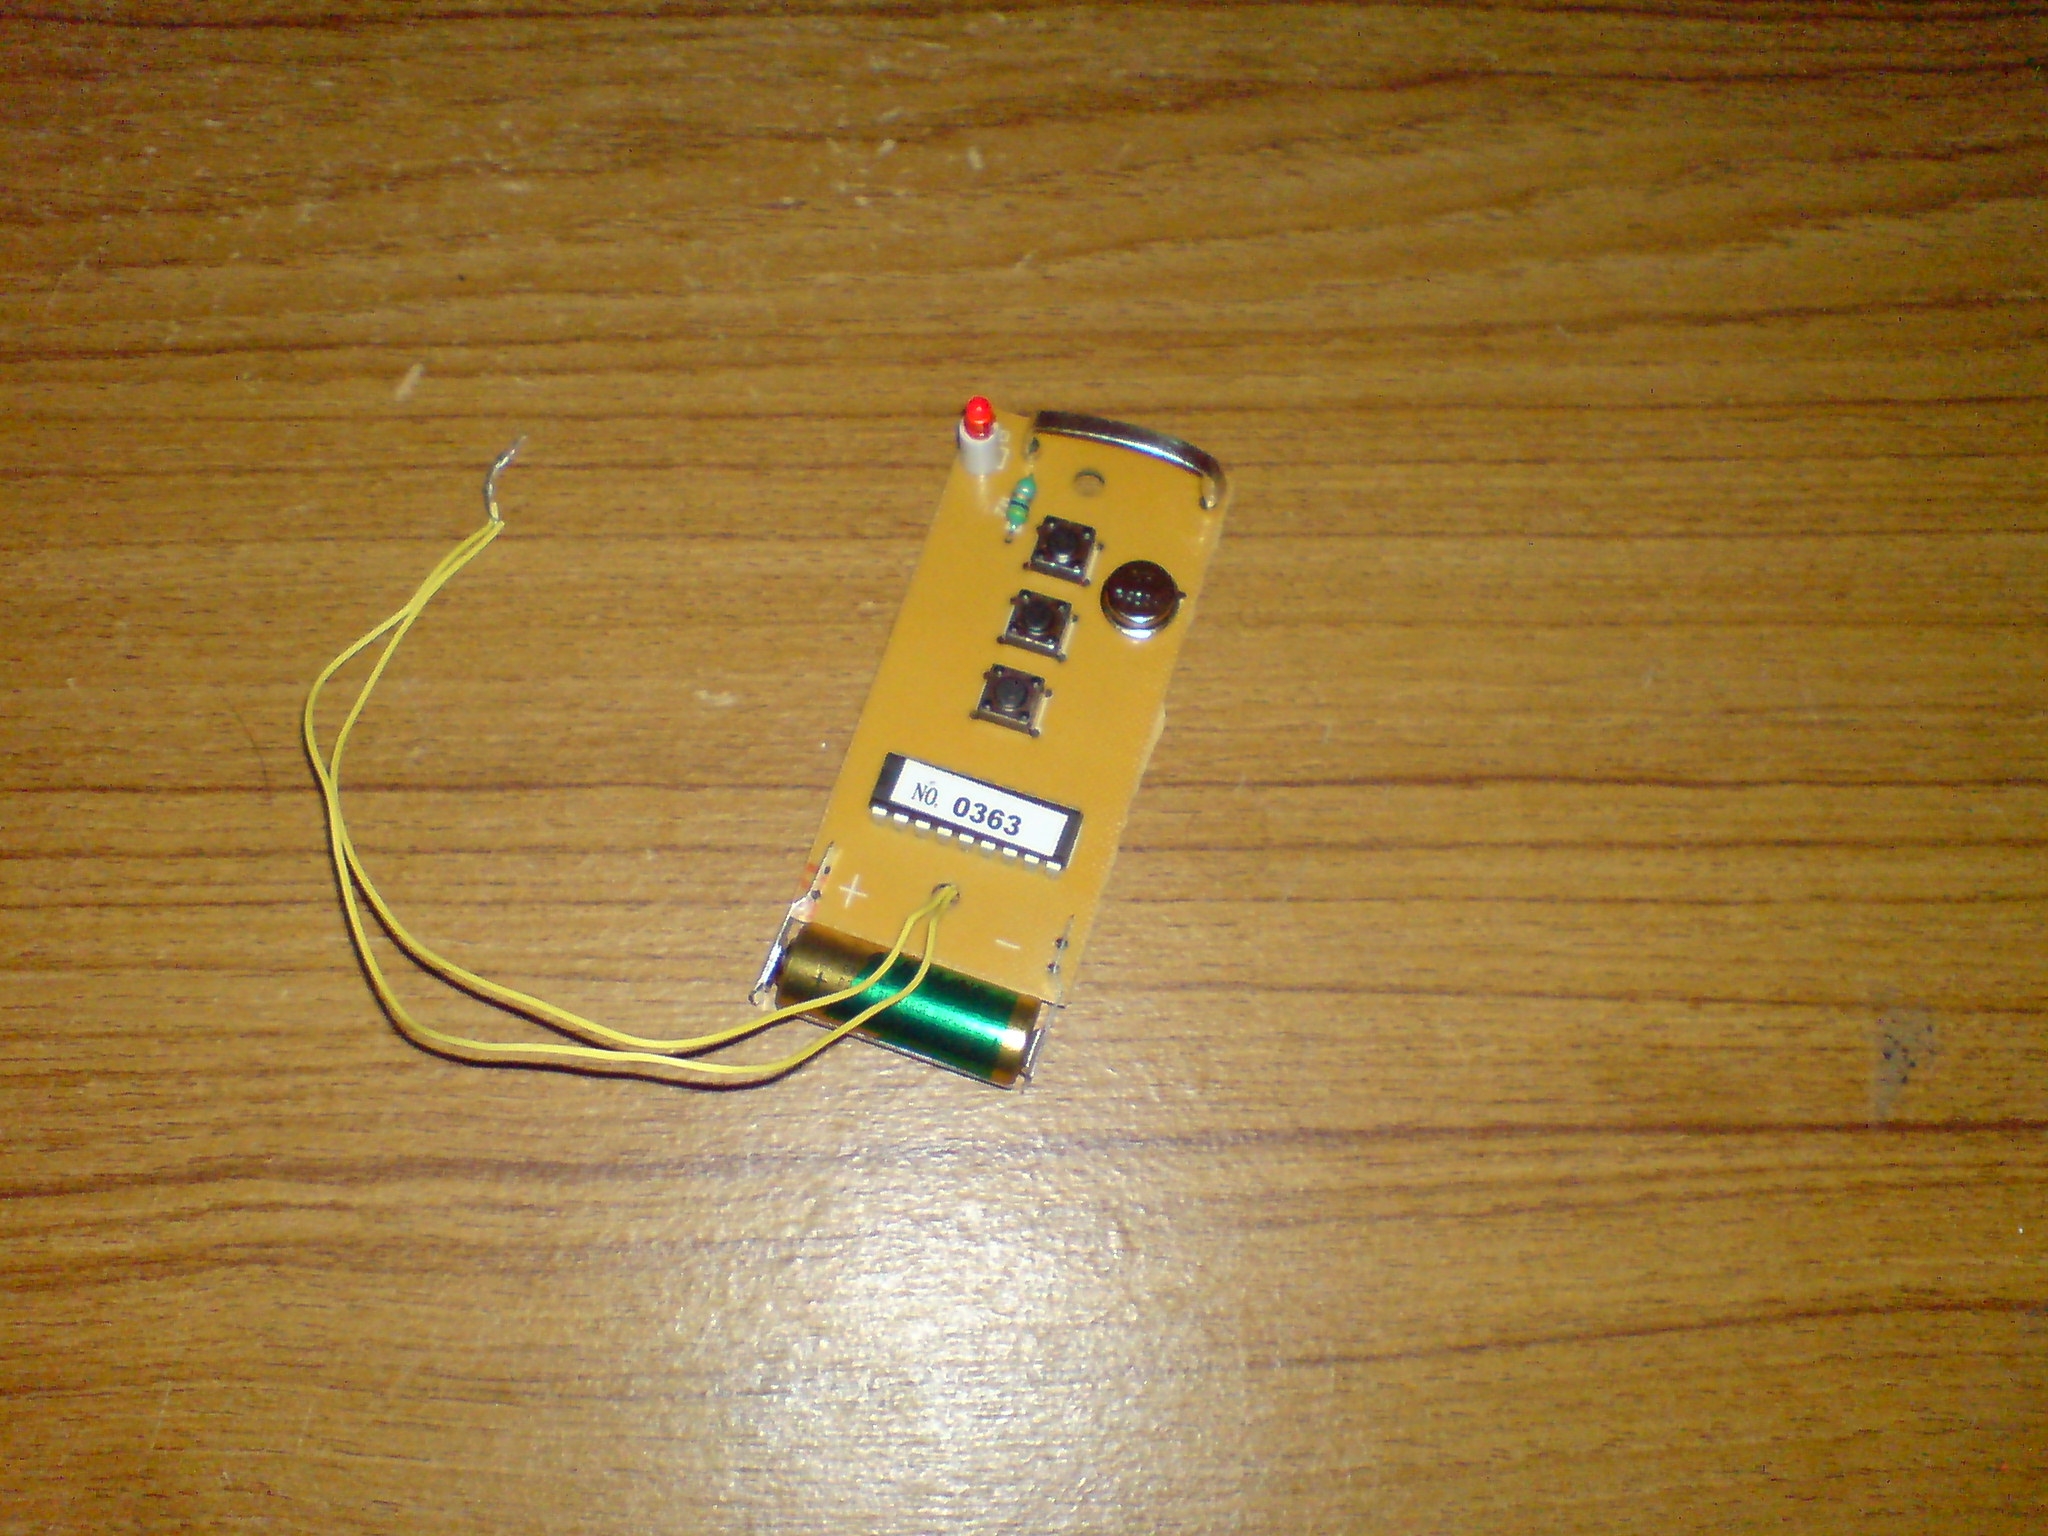
1). Now as you can see I have one remote control and three mains receiver sockets for this modification the Mains remote control I used for this modification was the Mercury Wireless Remote Control Socket Model Number 350.112.
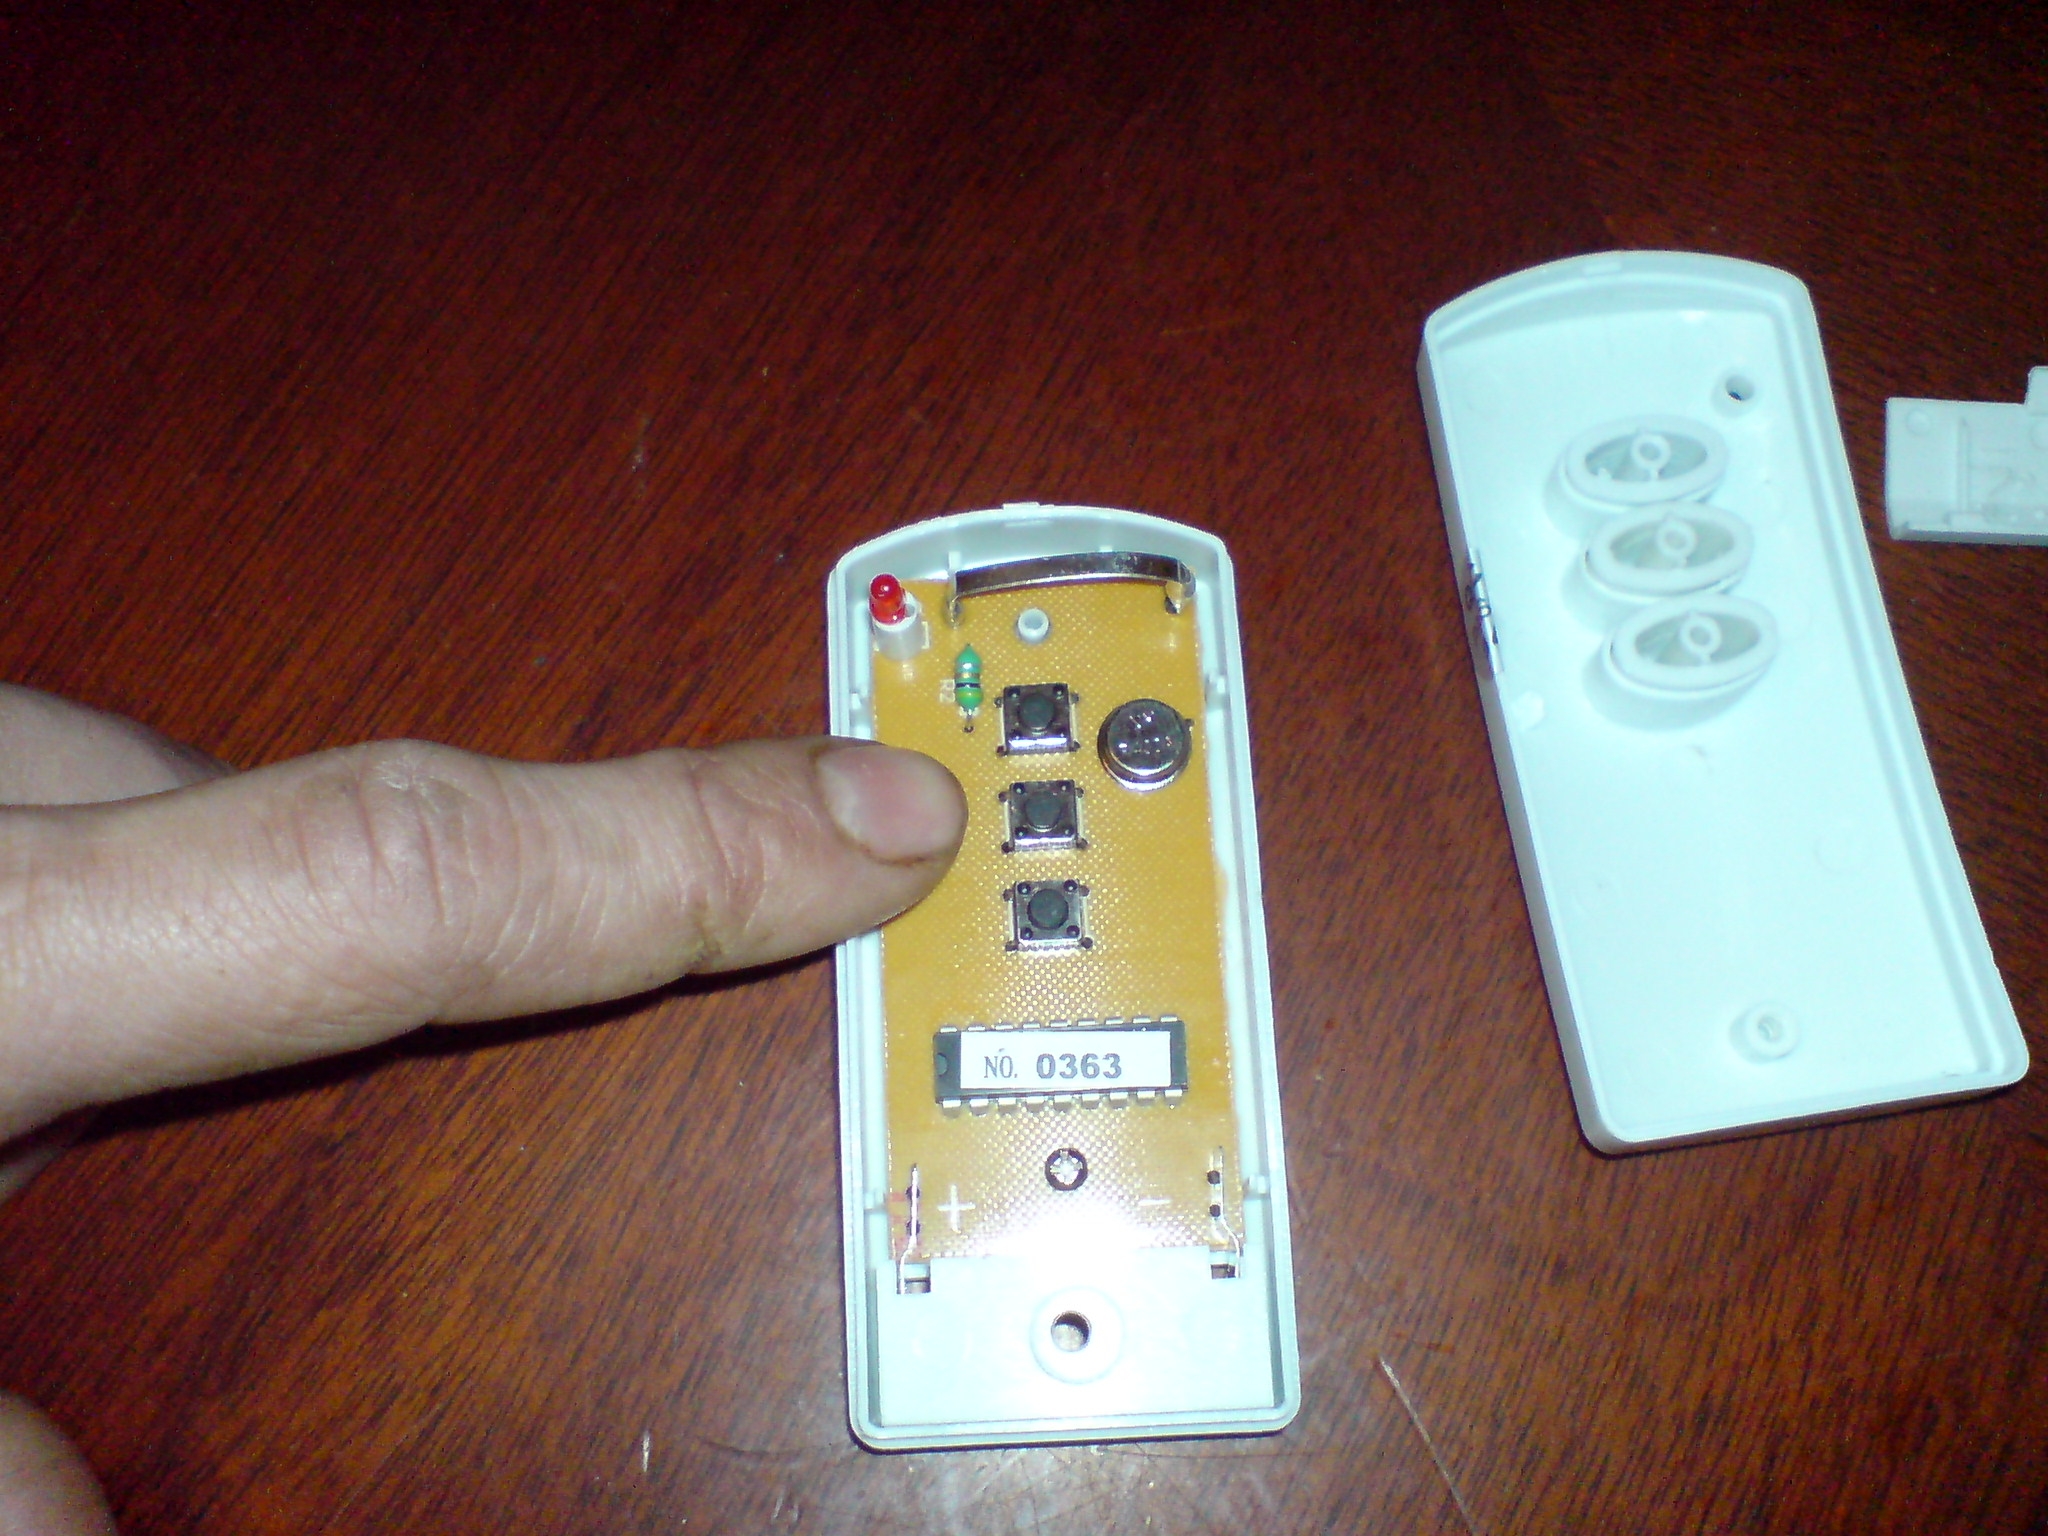
2) Now if you are using the same remote control I am in the above photo then Take out the screw from the back of the small Transmitter when you have done this see the photo below.
3) Now as you can see there is not much electronics in the remote control transmitter you can see the three black switches.
4). Now on the back of the circuit board we will see the switch has 4 pin outs only two are used on each switch if you look at the photo above you can see the pins coming from the switch.
I have kept this photo below bigger as it is simpler to see the pins you need to solder the wires to for the first switch.
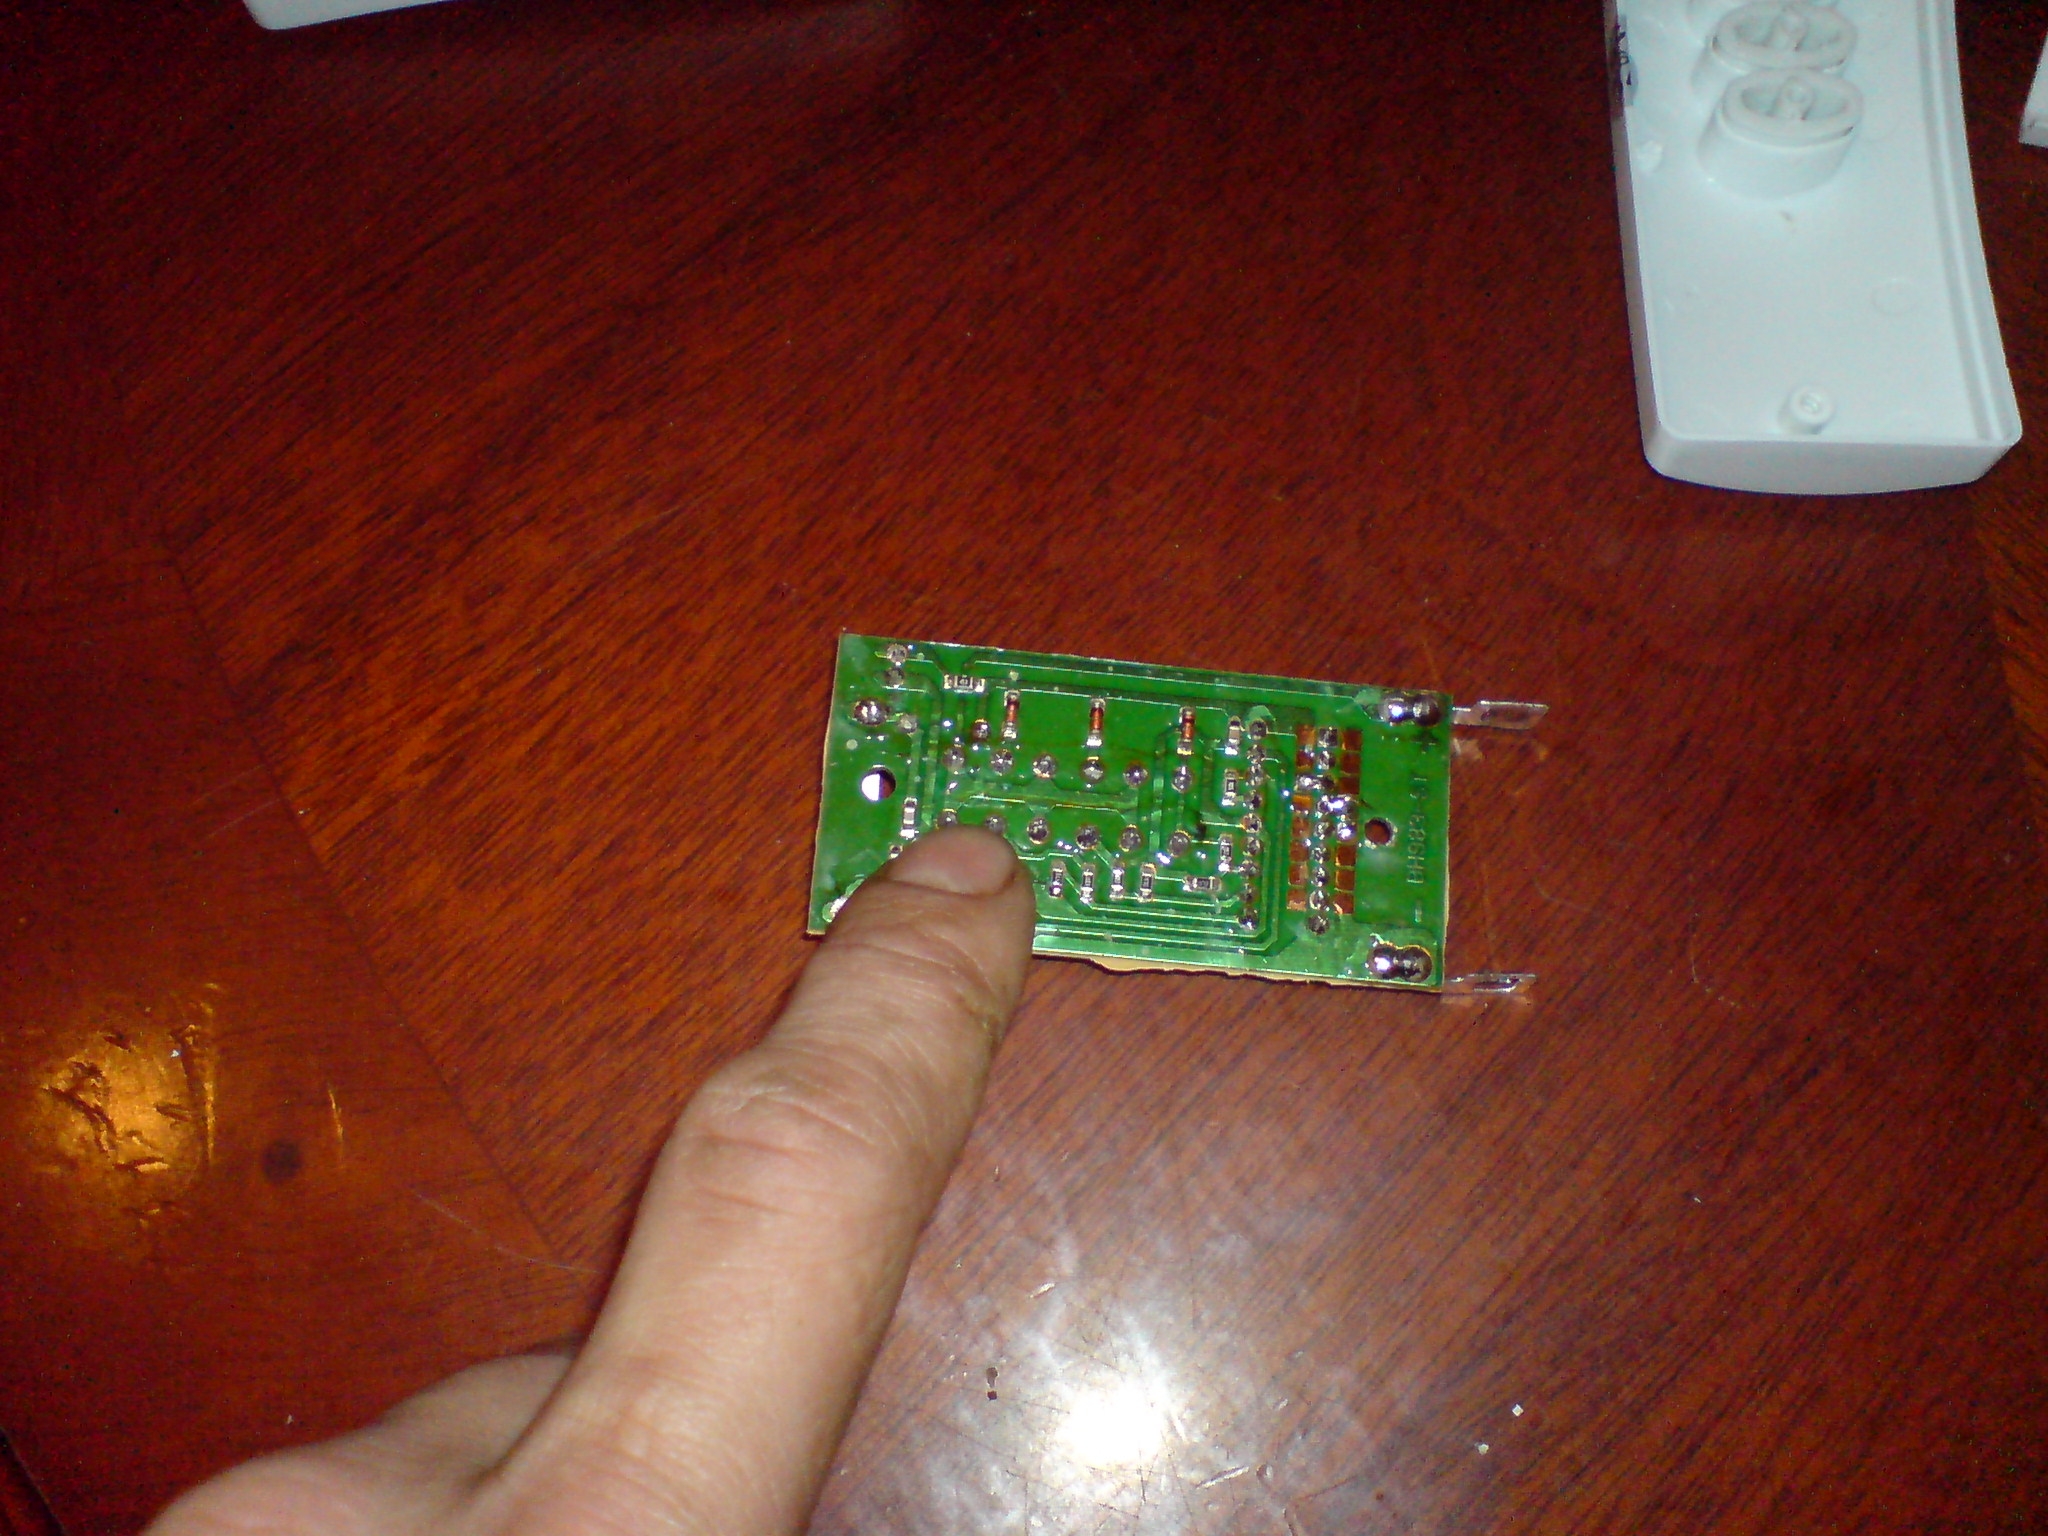
5). Now if you are using the same switch like I have here then it is very simple to wire it up to the transmitter on the first switch solder your wires to the same contacts as I have below.
6). Now twist the two ends of the wires together and connect your small battery and if the LED Red Light comes on then this has been done right if you have your remote receiver in a mains socket then it will switch on or off.
7). Now if every thing is ok and the RED led light came on and your mains receiver switched on or off then it is working fine.
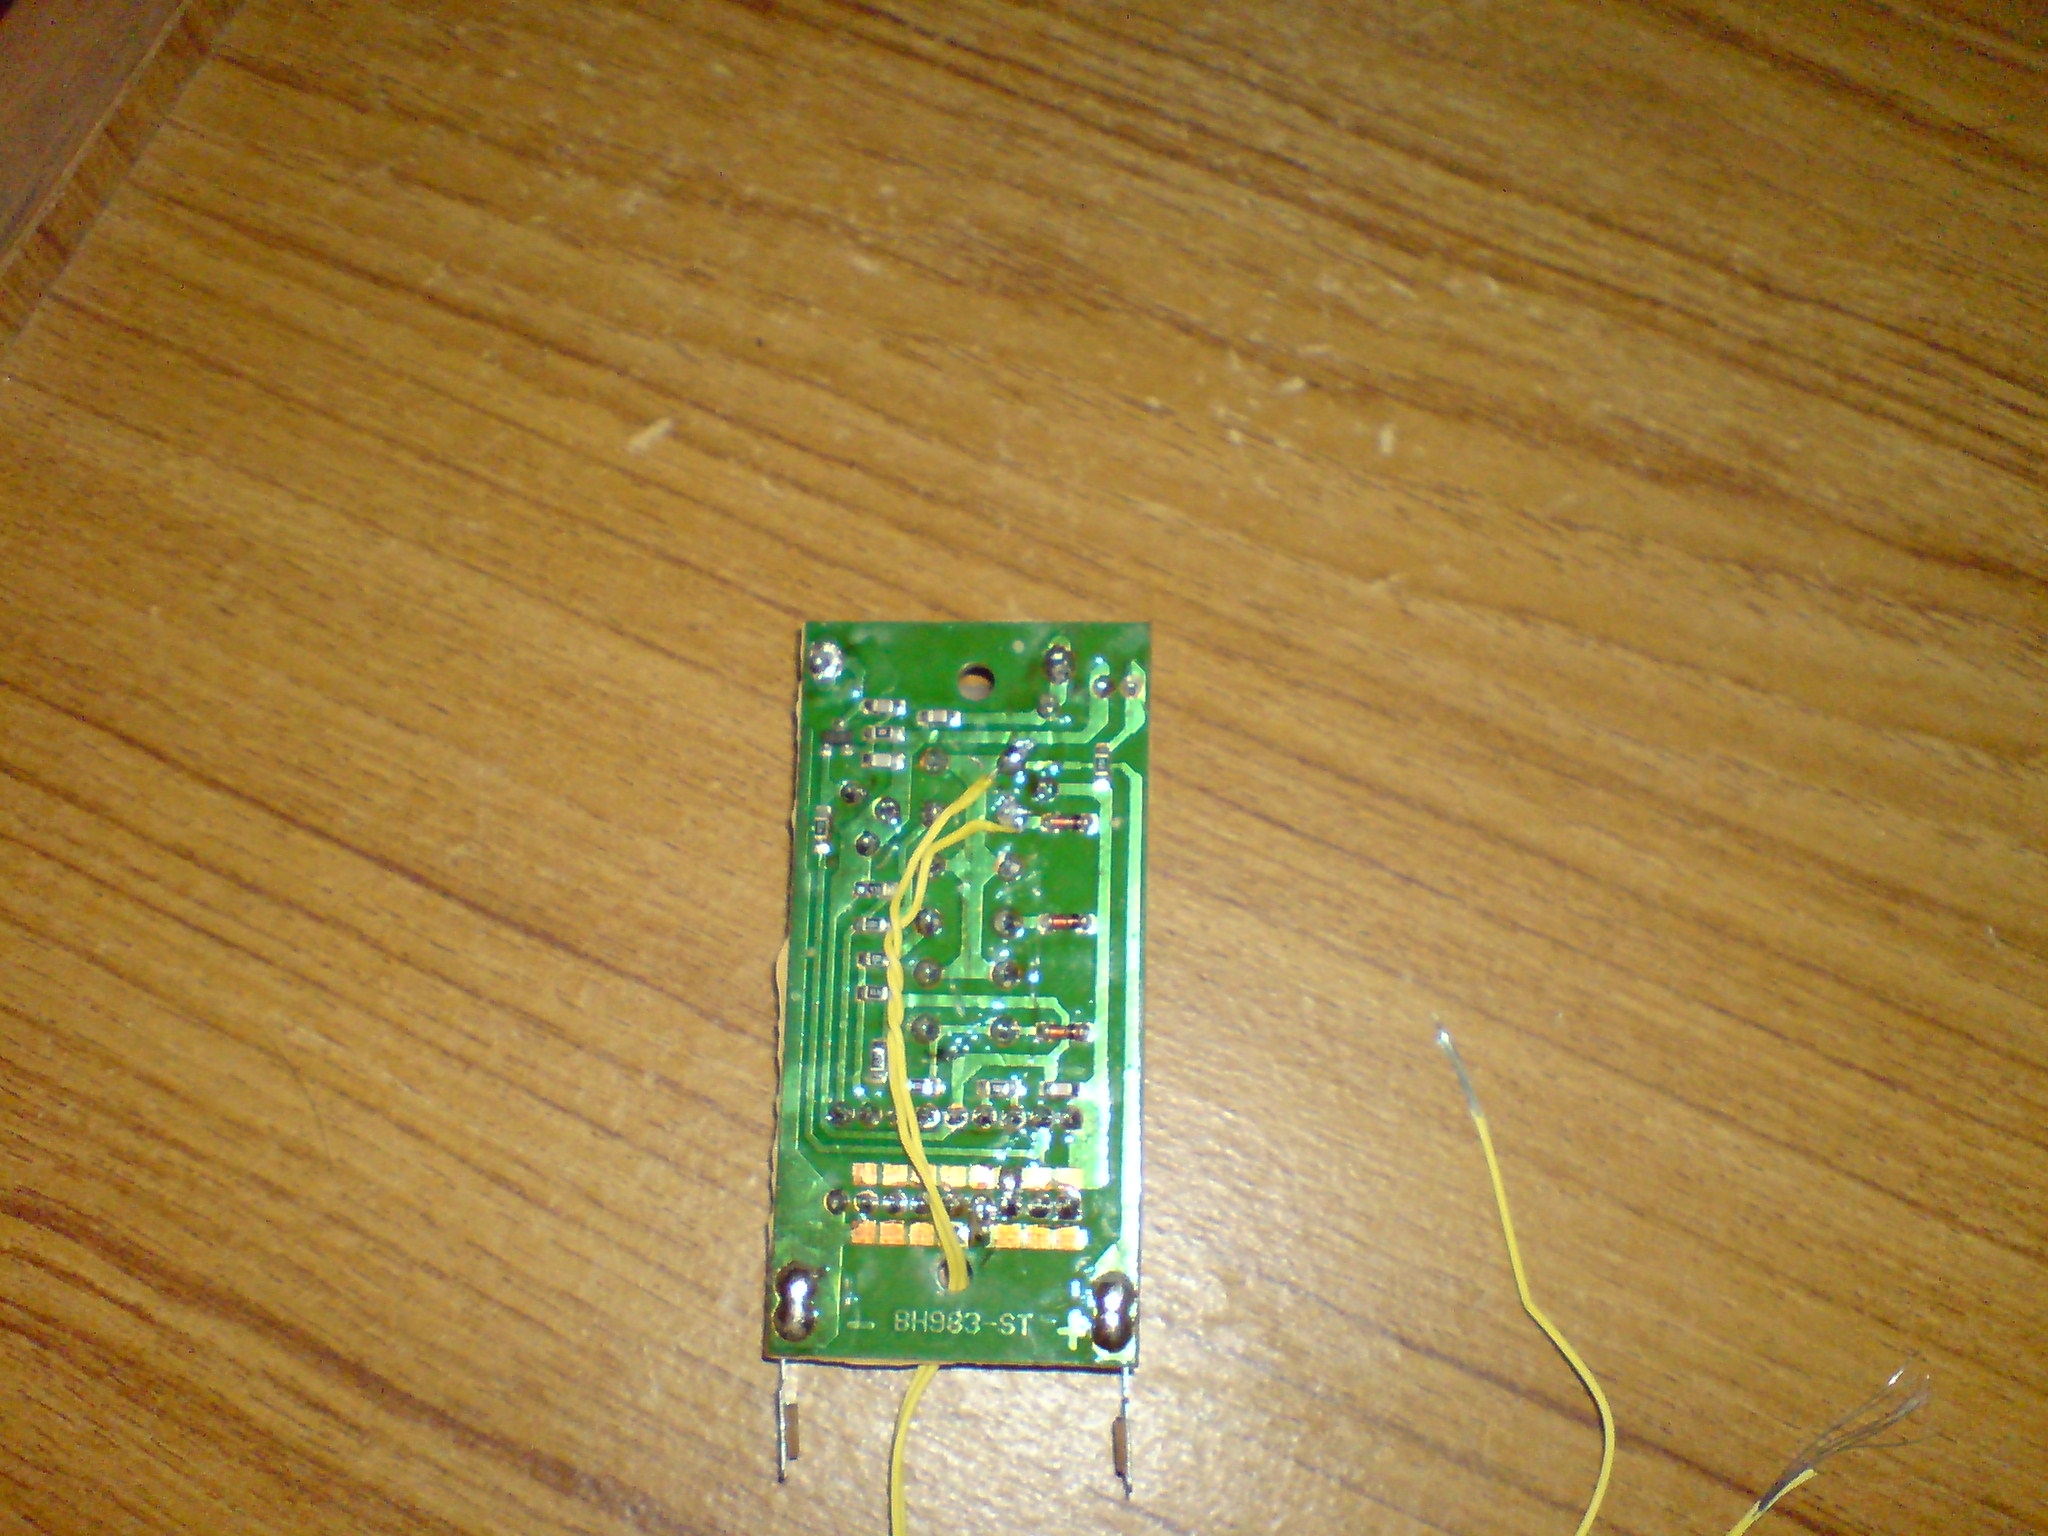
8). Now in the photo below you can see I have wired the second switch up to the second button and so on.
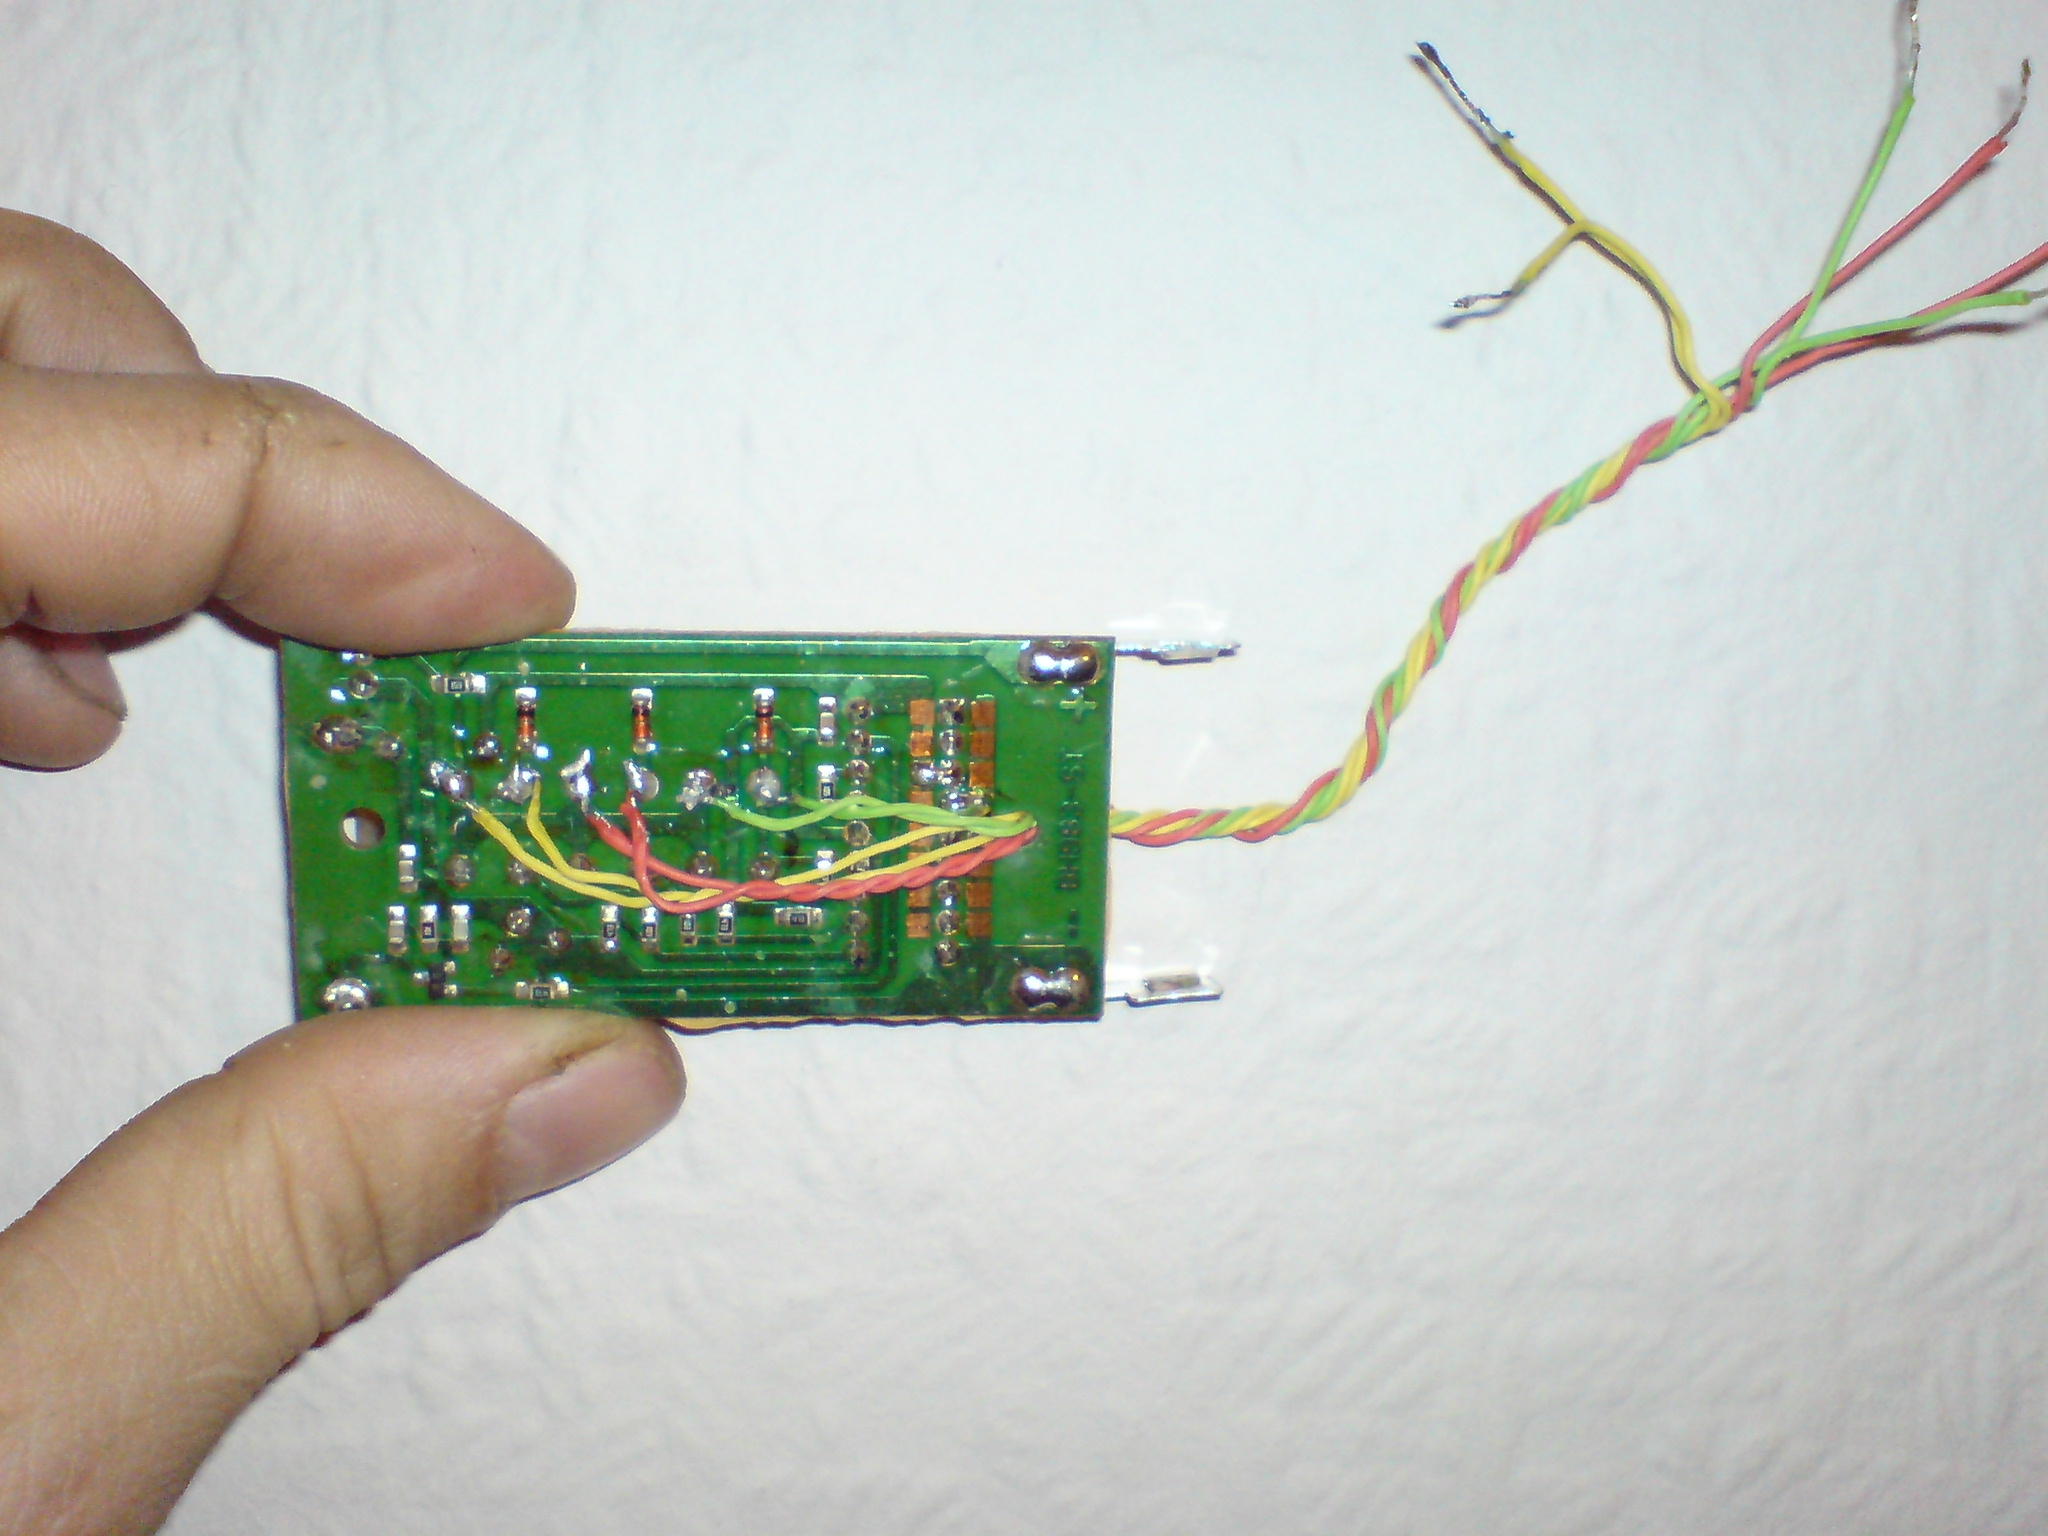
9). Now as this is only a 3 switch remote control I have soldered the wires to the switches and used different coloured wire as this makes it simple to know what switch it is connected to.
10). Now on the photo below all you need to do now is connect a longer red and Black wire to the remote controls Transmitters connections connect the RED wire to the + and the Black wire to the - like in the photo.
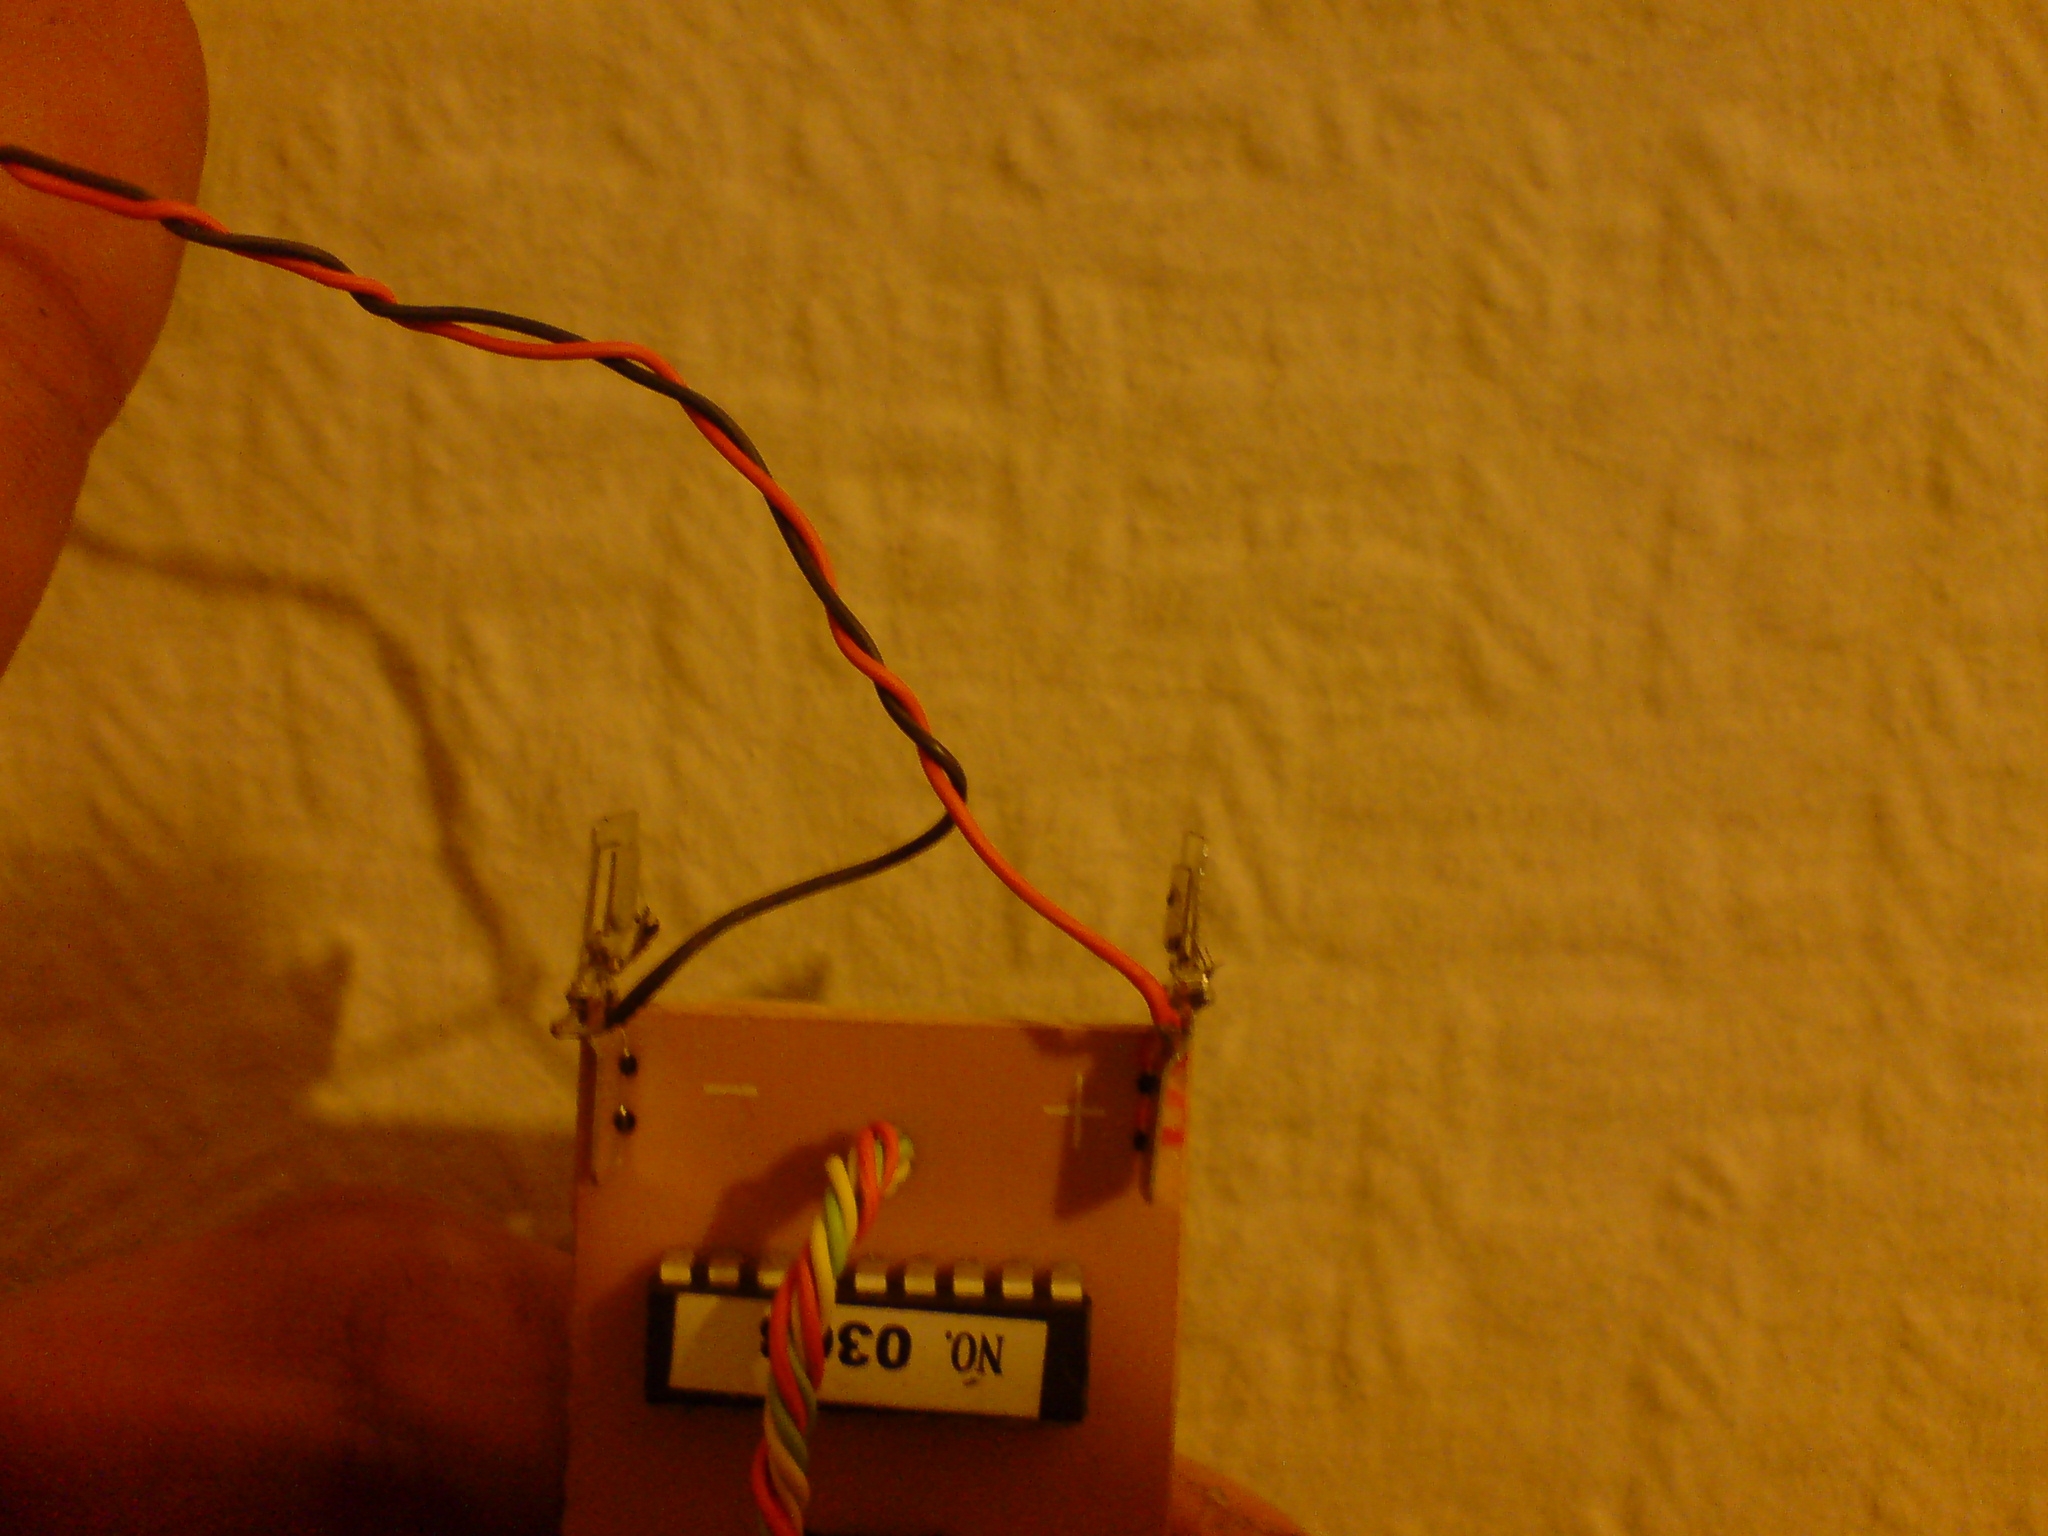
11). Now on the next page we will wire the simple transmitter to the relays on the main DTMF PSTN Devise so we can turn things on or off by radio waves this transmitter has a range of 30 meters in open field Click here.