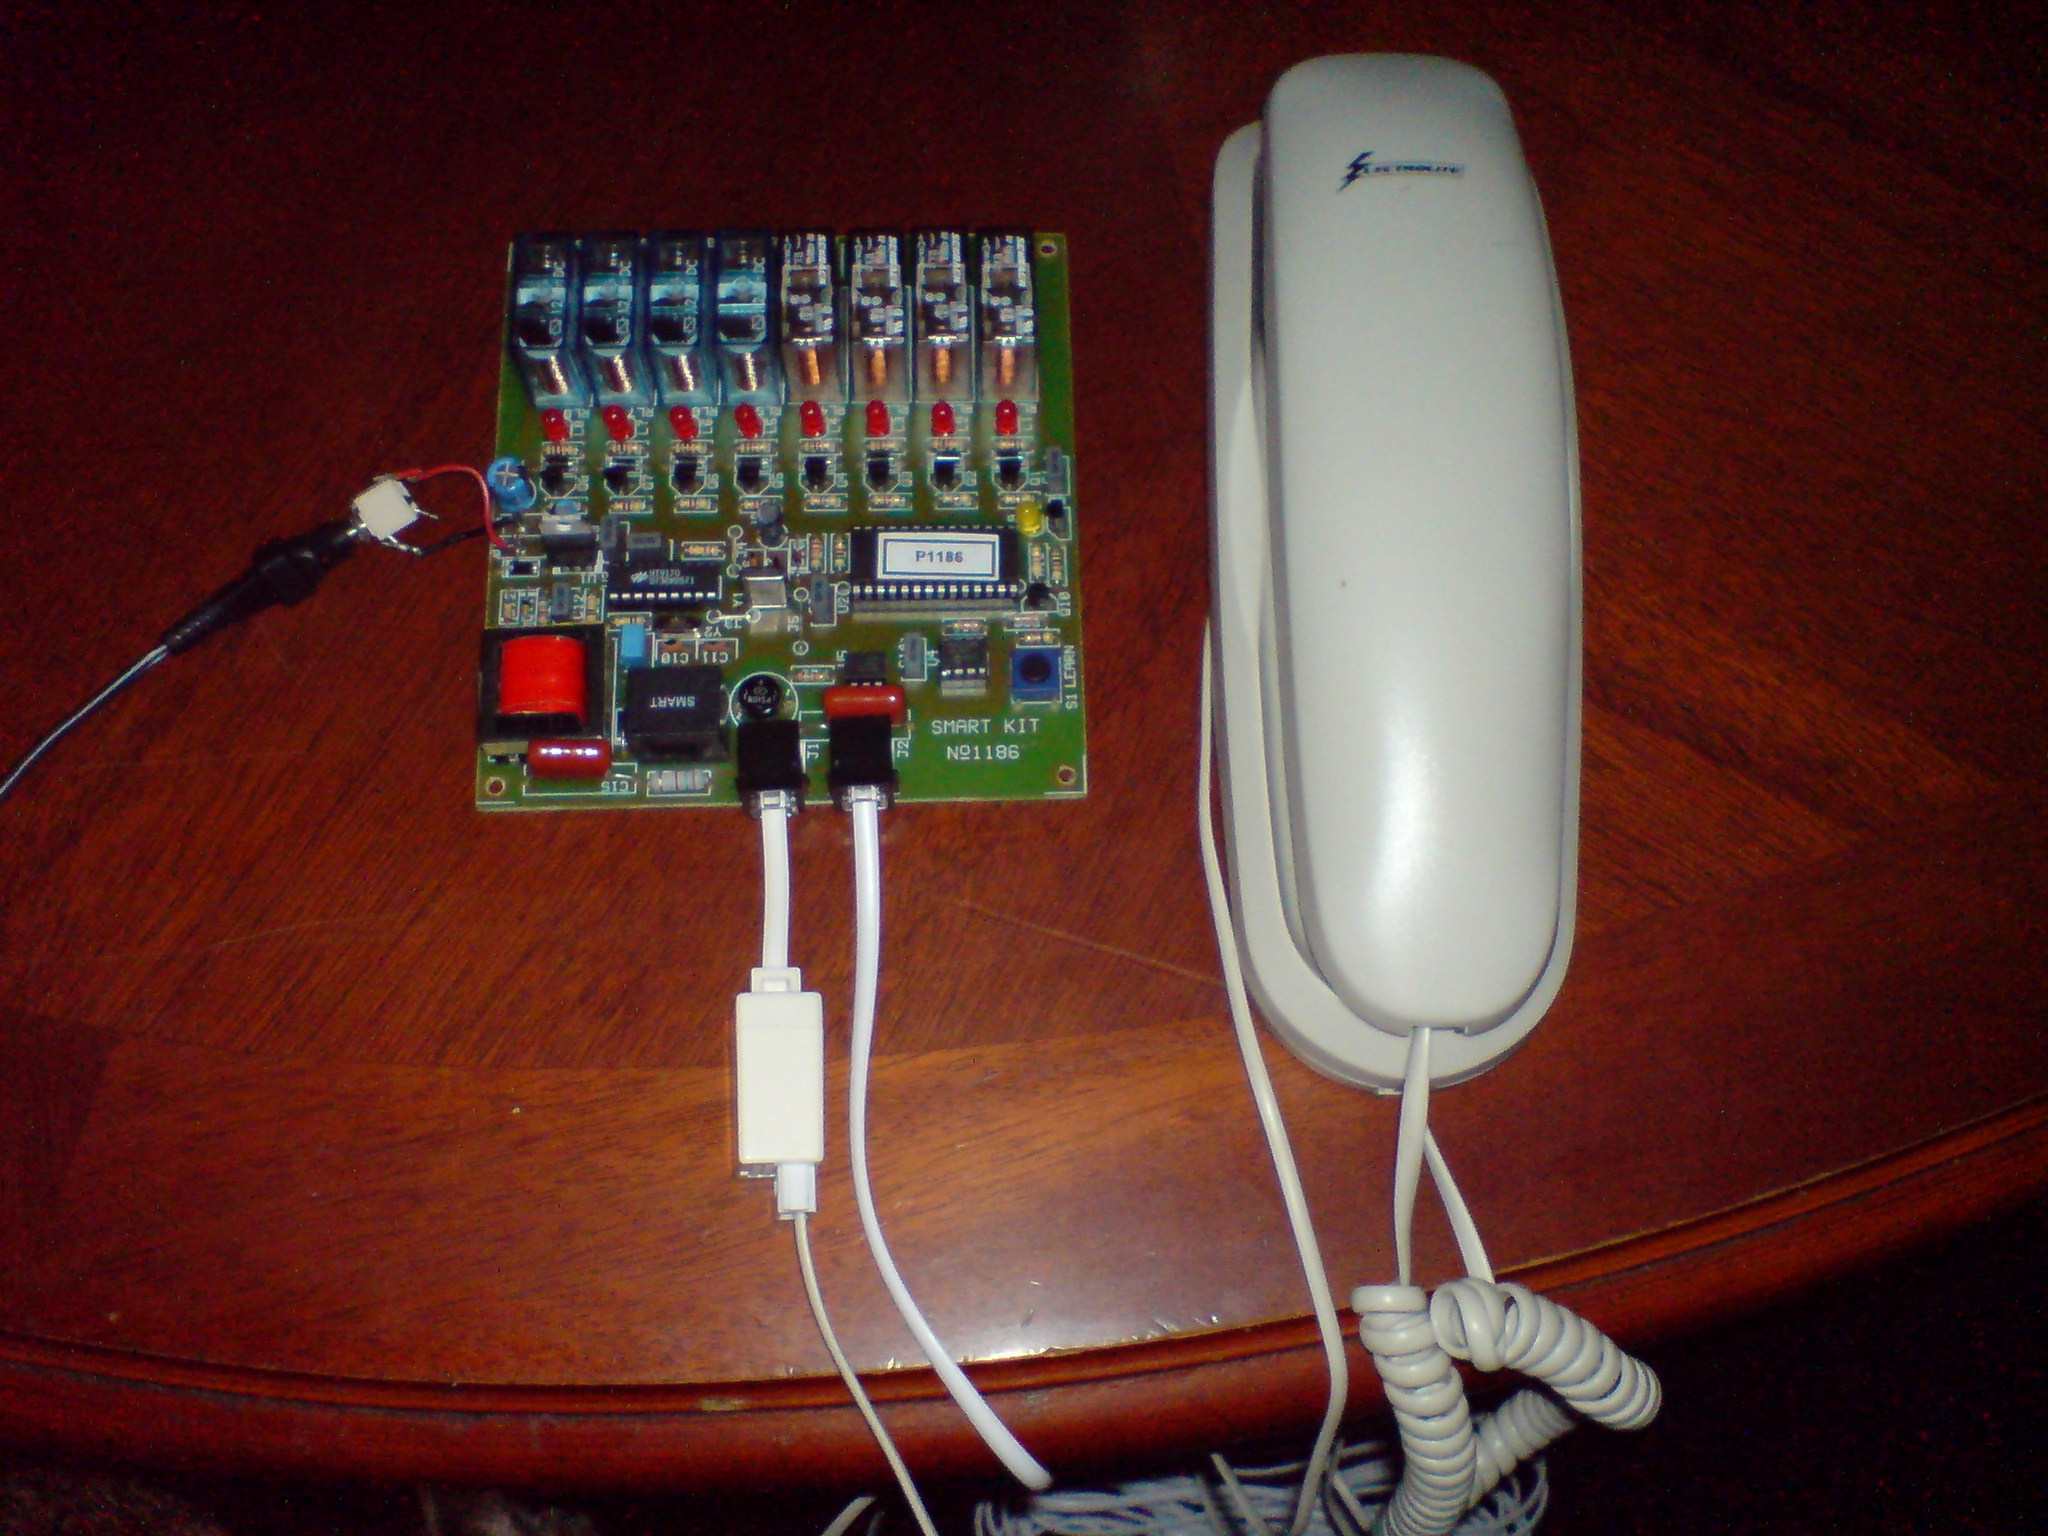
Welcome to the second part of the DTMF 8 channel remote control by Telephone now we will look at how to connect our electrical devises to the unit.
 13). The first thing we need to do is think about
safety the unit needs to be put into a plastic box you are dealing with mains
high voltages I would also recommend you use a RCD socked as well..
13). The first thing we need to do is think about
safety the unit needs to be put into a plastic box you are dealing with mains
high voltages I would also recommend you use a RCD socked as well..![]()
14). I will be showing you how you can connect
any electrical devise to the unit but if you want to add electrical devises some
way from the unit I will show you how to add or modify the unit so we can send
12 Volts down the line to a second relay unit to switch electrical devises on or
off.![]()
15). The third thing I will show you is how to
modify a Simple mains remote control switch by radio waves for the unit this is the way
I modified my own unit in my own home much better as the Main PSTN-DTMF unit
will stay at 12 volts only.![]()
The benefit of the last idea is you don't have to put cables every where in your home or office or where ever the unit is set up.
16). Now in the case of electronic equipment we
can not supply electronic circuits with 240 or 120 volts so we use a devise
called a transformer to step down the 240 or 120 volt power supply to 12 or 9
volts or what ever voltage the unit needs to work with.![]()
Please note it is very
important to get this right as you are dealing with mains voltages this is
 The
same way to connect any electrical or electronic devises to the unit.
The
same way to connect any electrical or electronic devises to the unit.
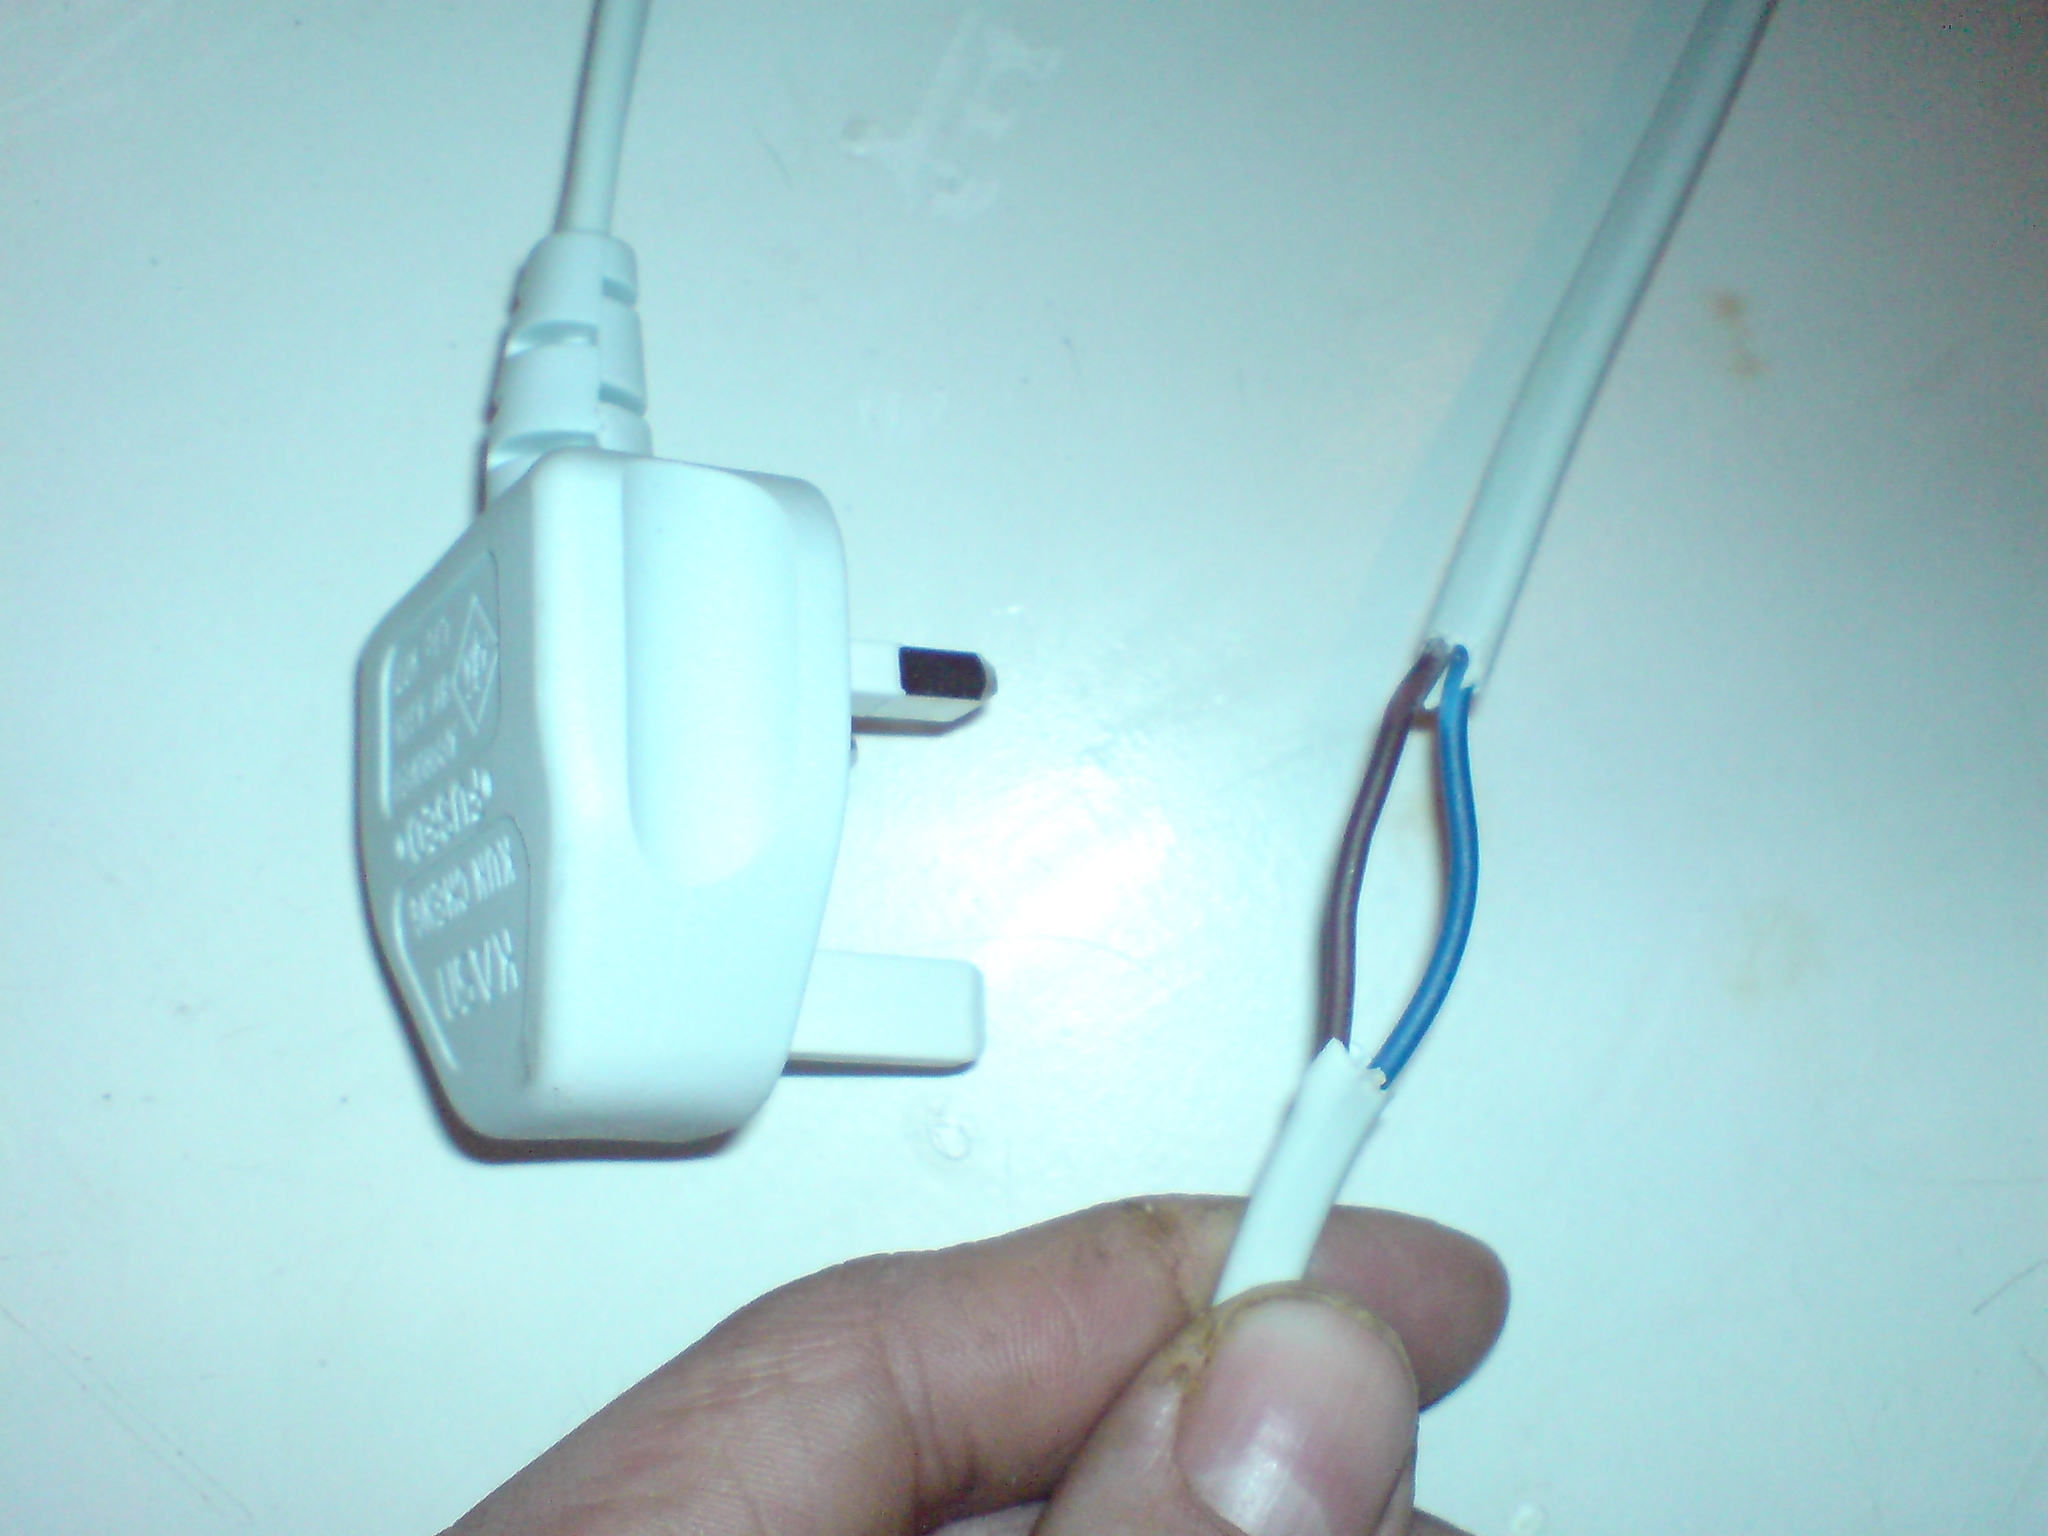
Take off the outer covering of the wires like in the photo below then check the brown wire has not been cut or damaged in any way if it is ok then follow the rest of the information below.
![]()
![]()
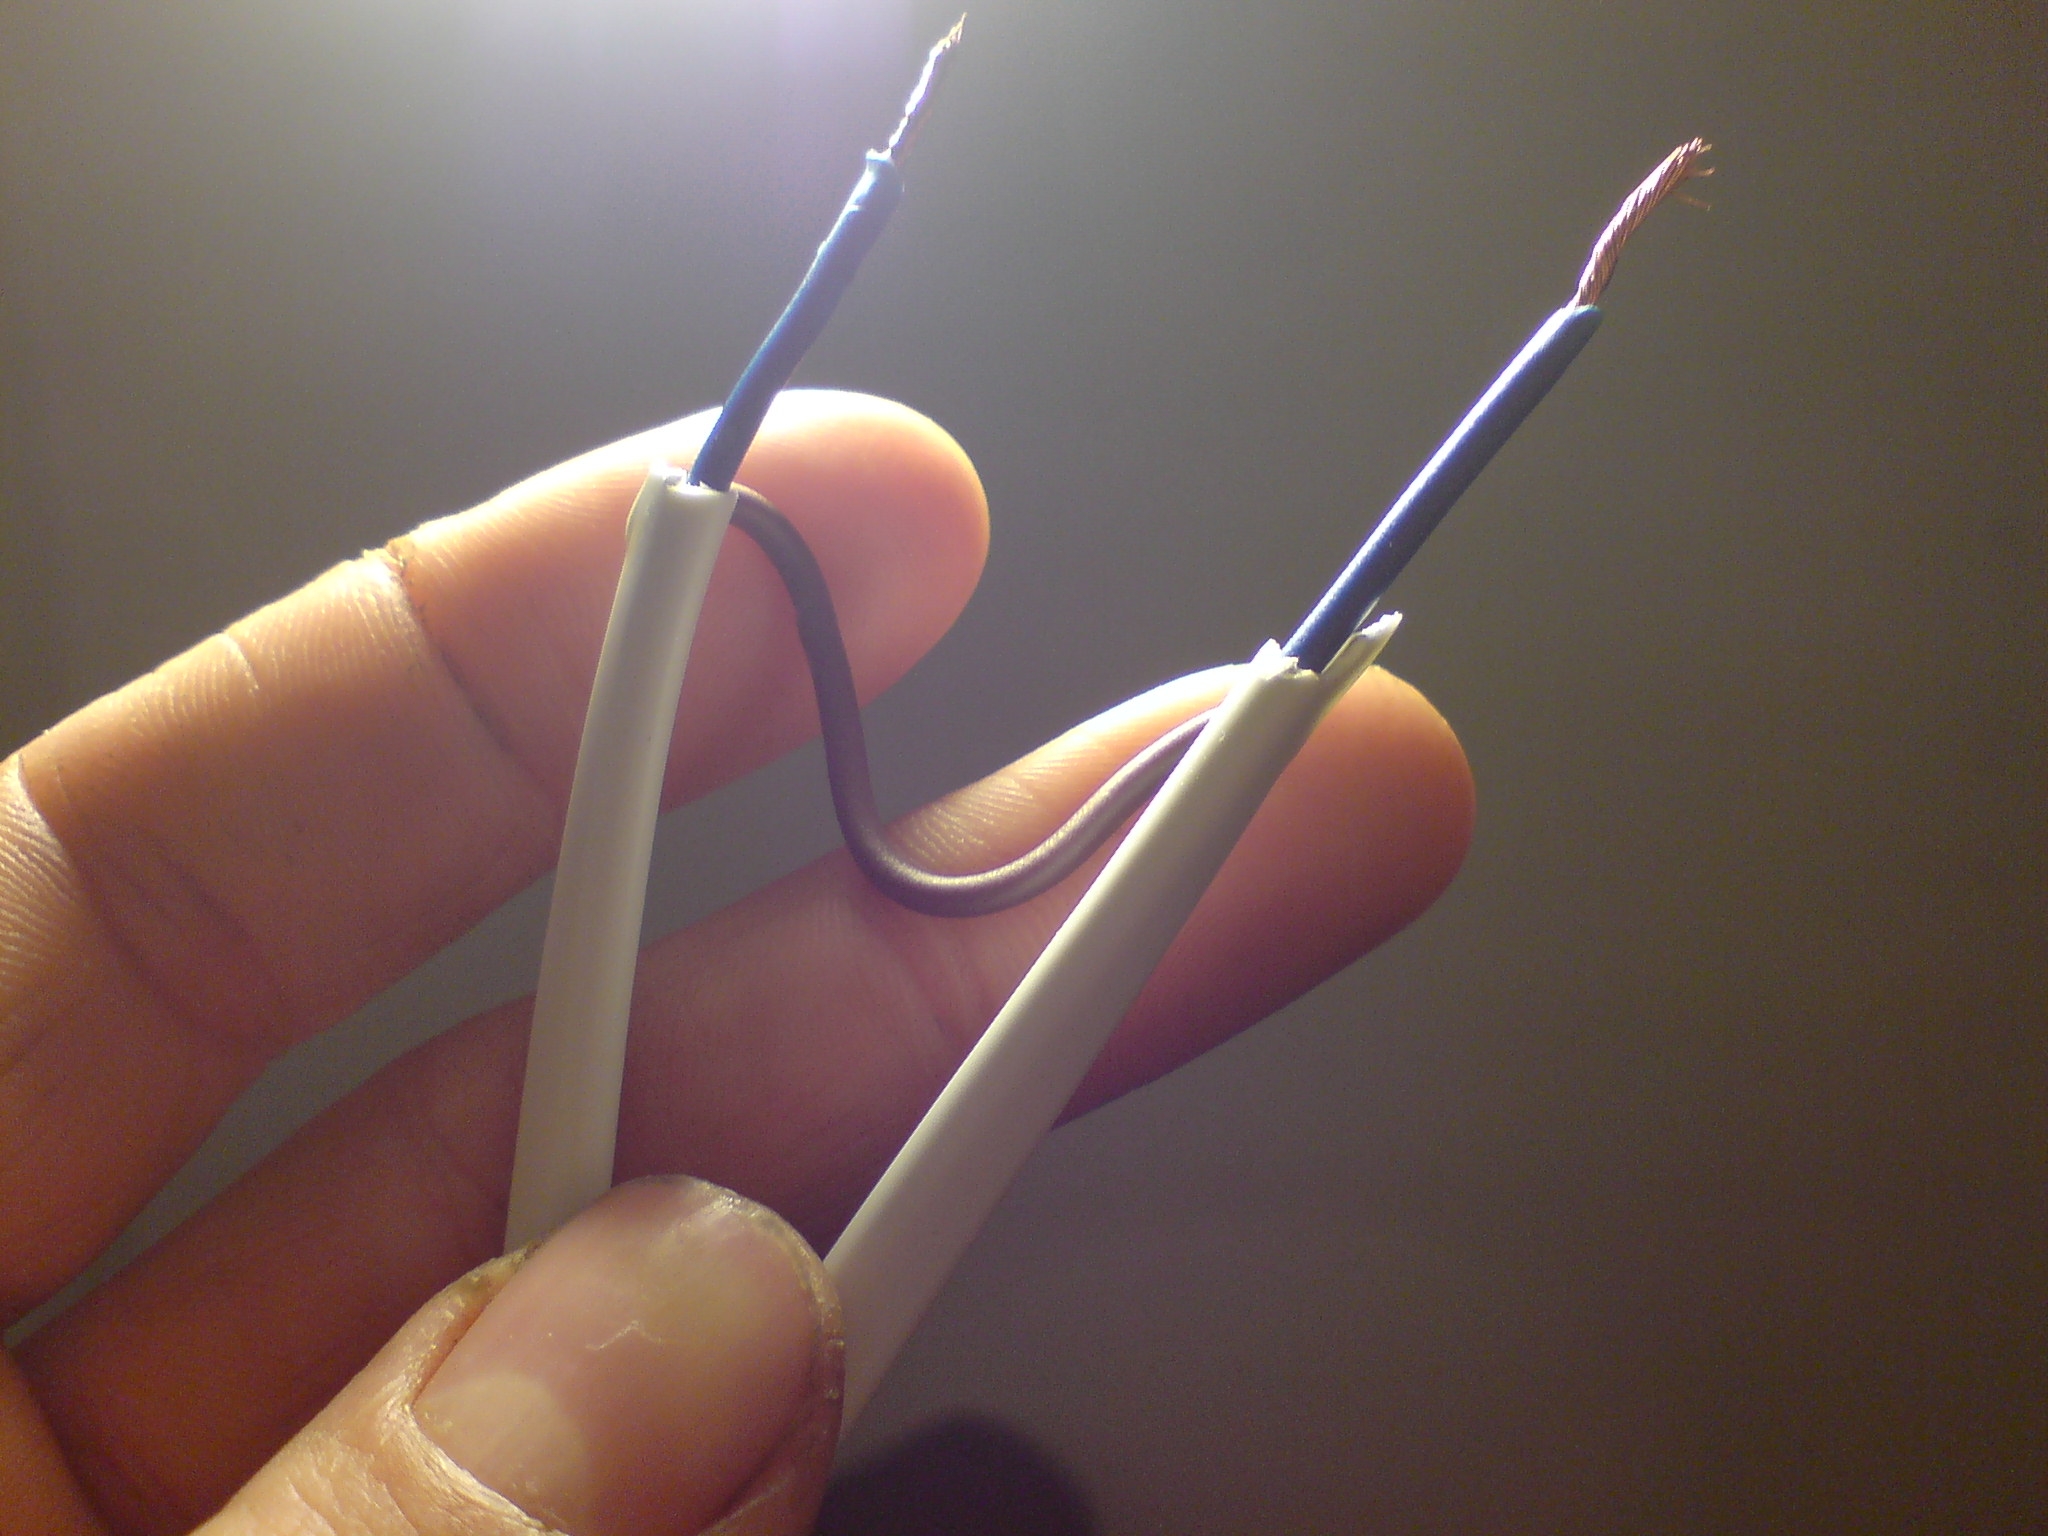
In the photo below you can see I have cut the blue wire take off the insulation from both ends of the blue wire.
![]()
![]()
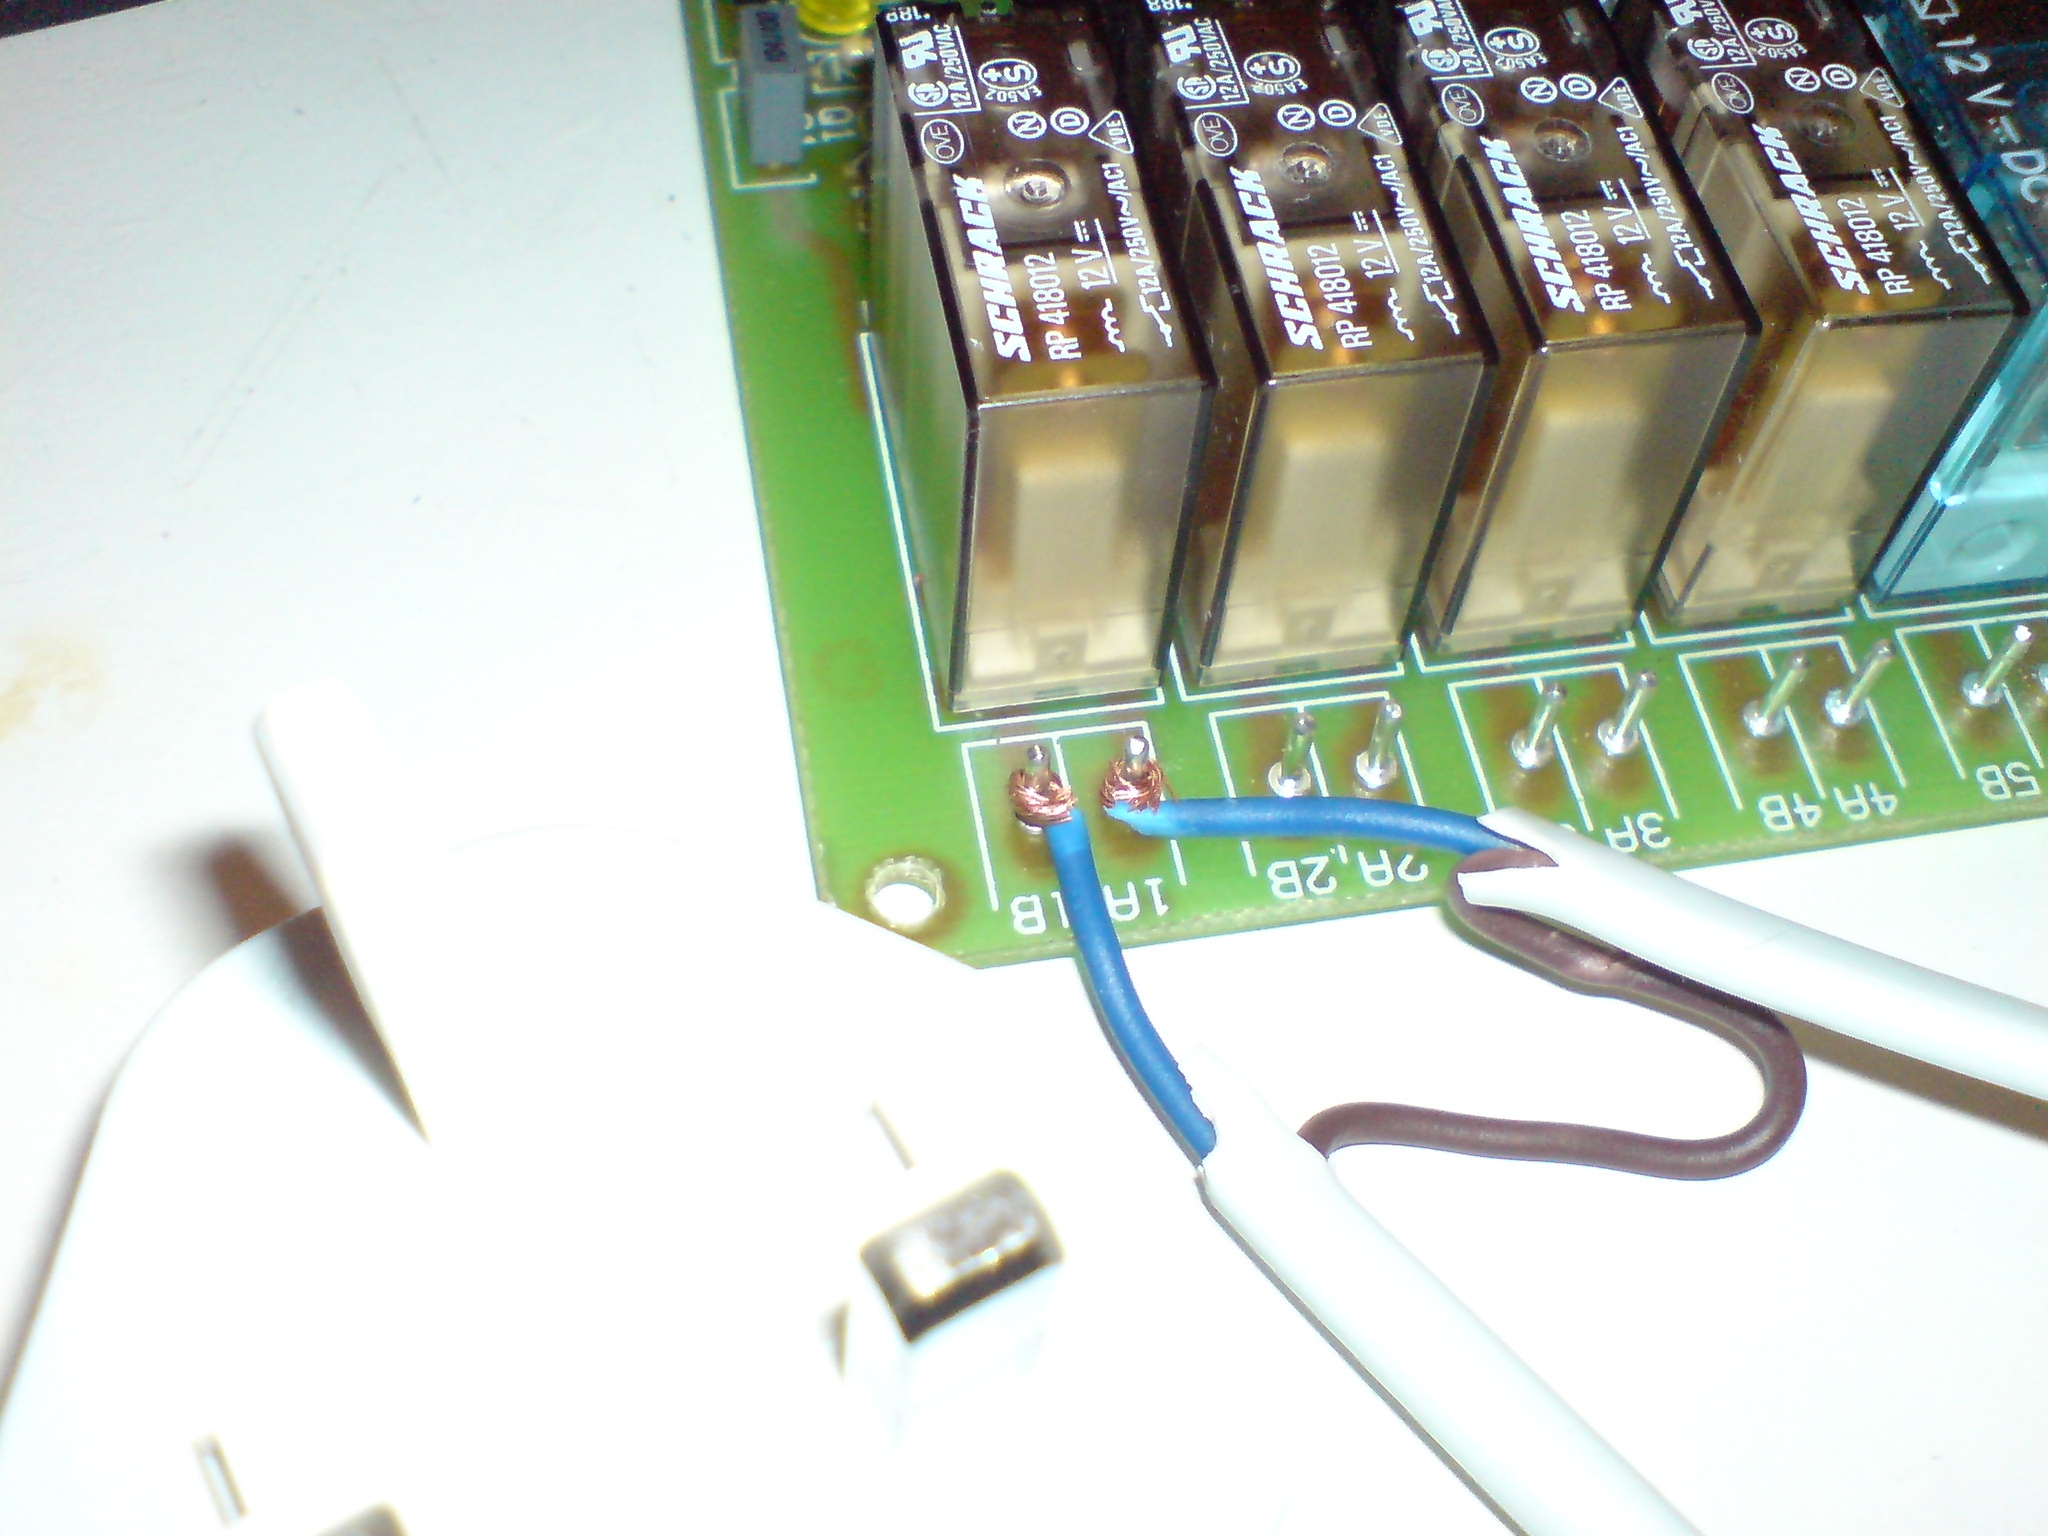
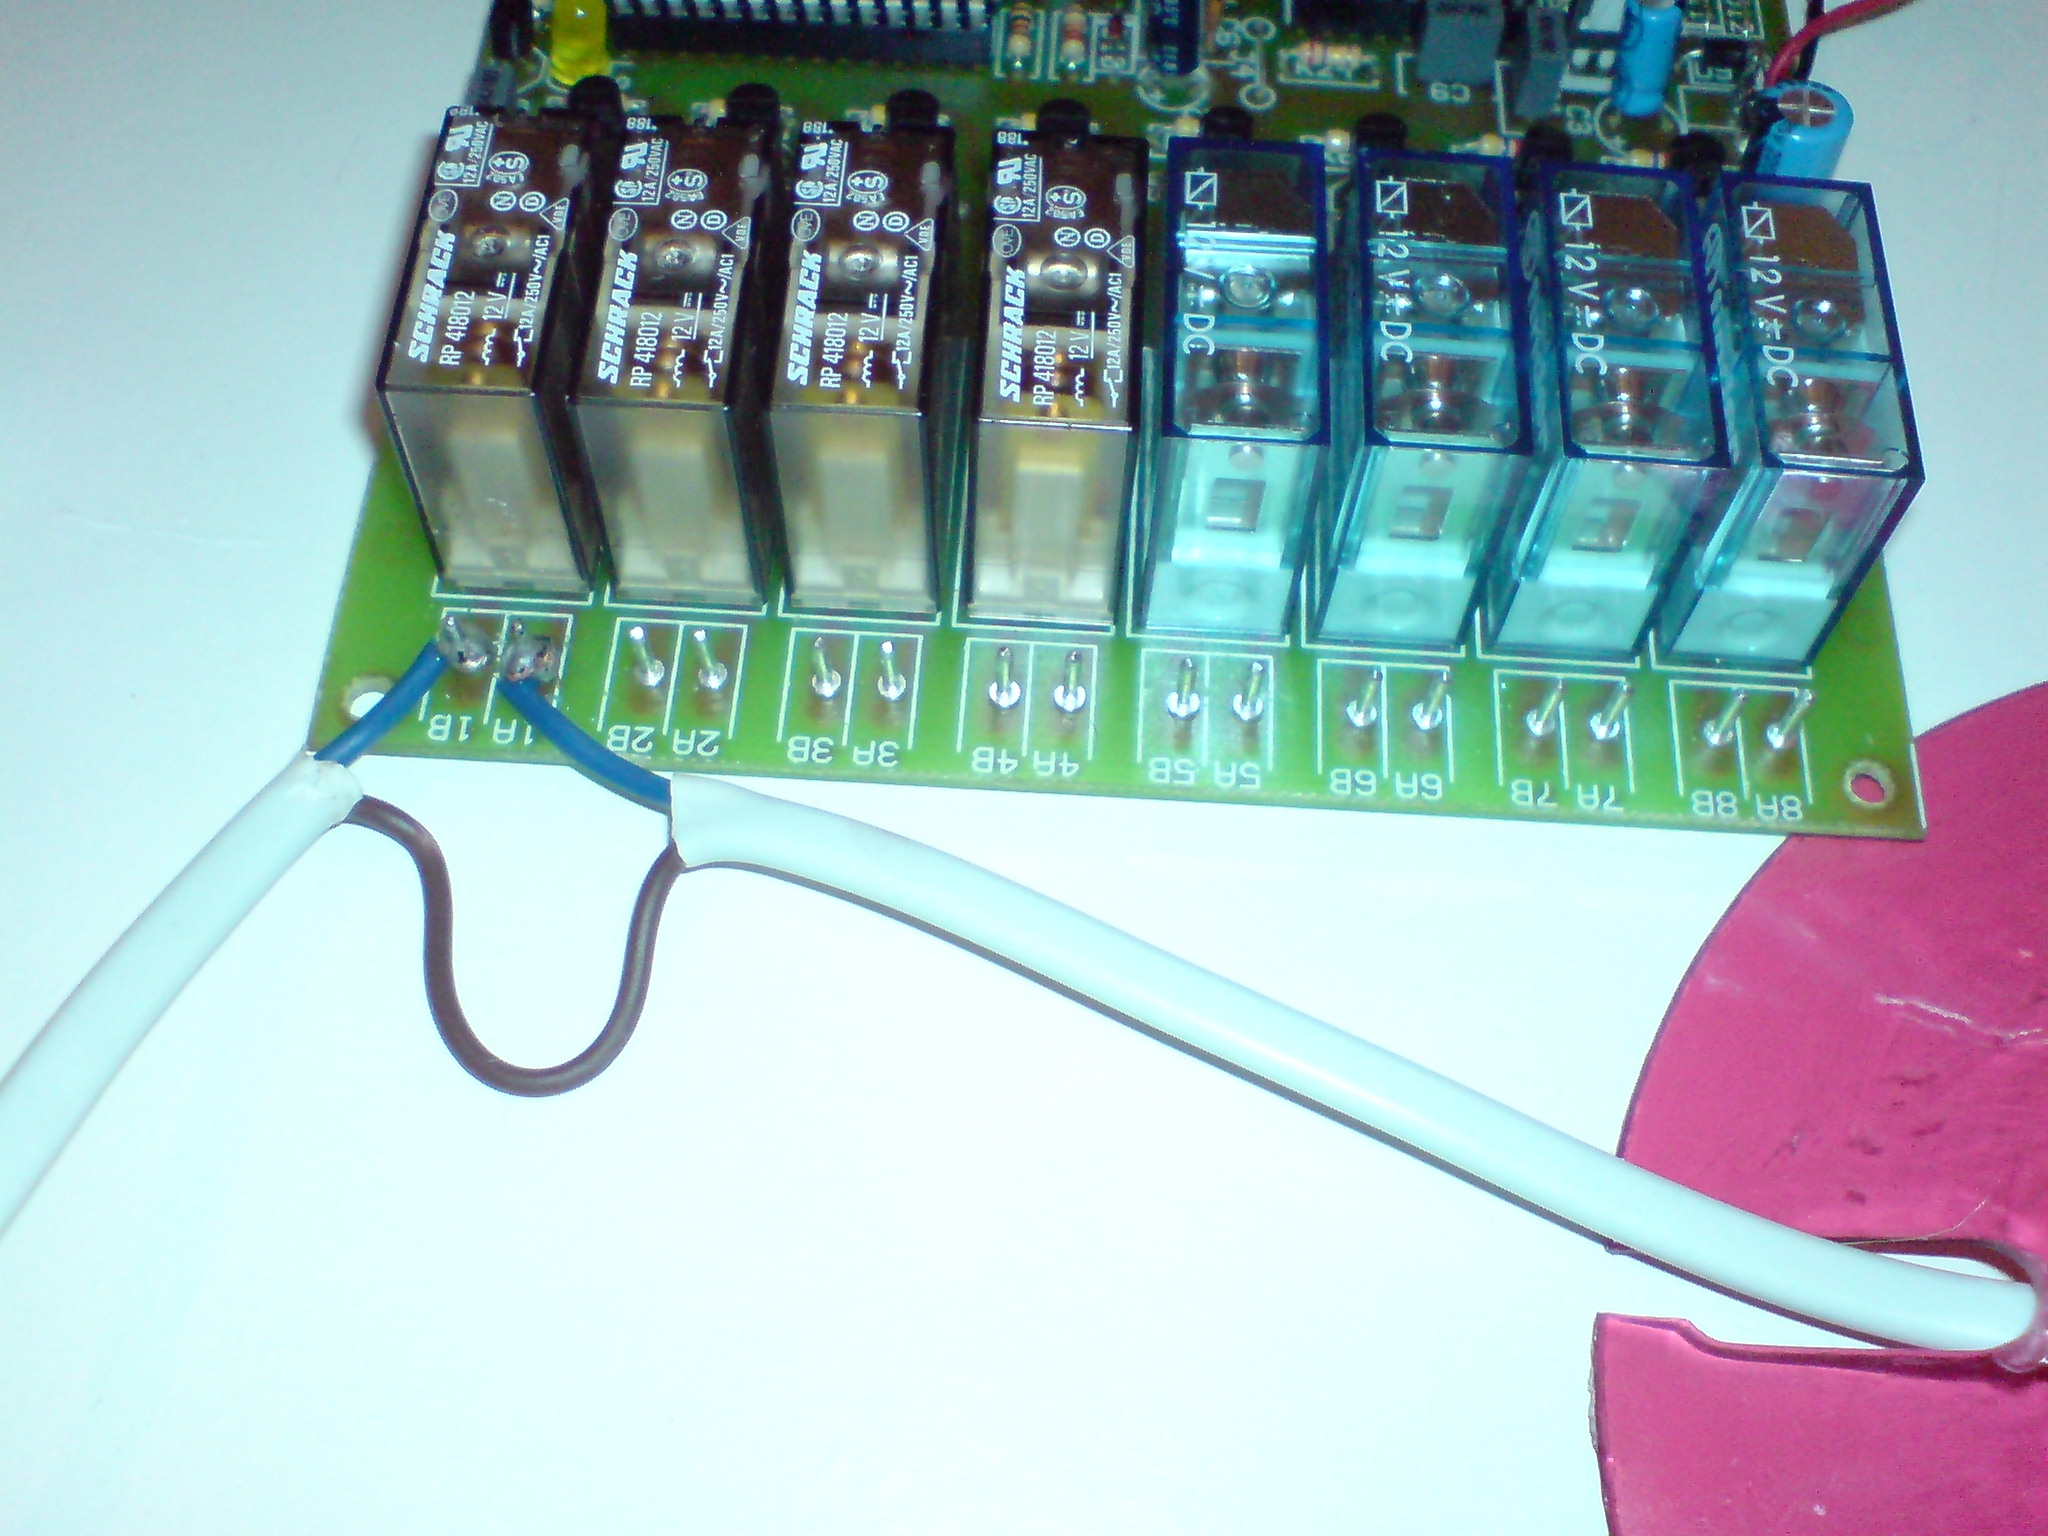
The blue wires will connect to the relay on the 8 channel DTMF Remote control unit each relay contact has two pins at the back of the relay connect one blue wire to one pin and the next blue wire to the pin next to it see photo below.
You will need to do this with all the devises connected to the unit that run from the 240 volt UK or 120 volt USA mains supply.
![]()
![]()
You will need to solder the two blue wires to the two pins shown in this photo don't allow the wires to touch see photo below.
![]()
![]()
17). Now how the unit works is simple the unit
works by phoning the number the unit is fixed to and waiting for 4 bleeps then you key in your own 4 digit code then if you did it right you will hear 4
bleeps then to turn an electrical item on that is connected to 1A 1B pins as in
the photo.![]()
18). All I have to do is press * 1 on my cell phone or
land line phone to tell the unit and it will turn
the first devise on now if I want to turn it off again then I press #1![]()
19). Now say I connected a second devise to 2A 2B the
same way I did with 1A 1B then I would have to press * 2 to turn it on and press
# 2 to turn it off and so on all 8 devises can be on at the same time.![]()
20). The unit is very good when connected with the
above wiring as if there was a power cut the unit stays in the same state so as
soon as the power comes back on all the devises that were on will go back on
till turned off. ![]()
21). The relays just act as a simple switch when
the unit is off the two blue wires are still cut but when the unit receives a command
the relay switches on and makes the two blue wires come together and makes a
full circuit this then powers your electrical or electronic devises.![]()